How to Use Quest Login?
Last updated more than 2 months ago |
Print
Use Quest Login to generate individual login URL for your respondents. This can be useful if you need to distribute your Quest by link, but demand control over the access to answer for respondents, and possibly the option to enrich the invitations with respondent data.
Generate tokens
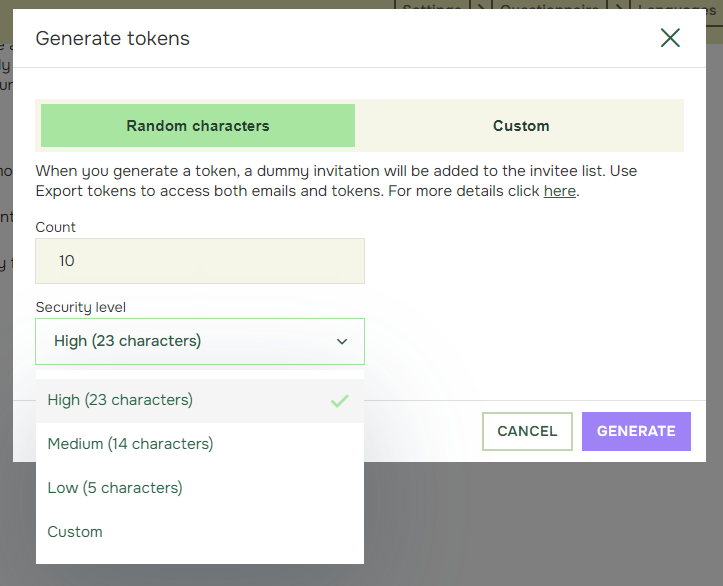
Click Generate tokens to create your desired number of tokens.
Count will decide how many tokens you want to create.
Security Level decide how many characters a token will contain.
You can select between:
- High (23 characters)
- Medium (14 characters)
- Low (5 characters)
- Custom (5-23 characters)
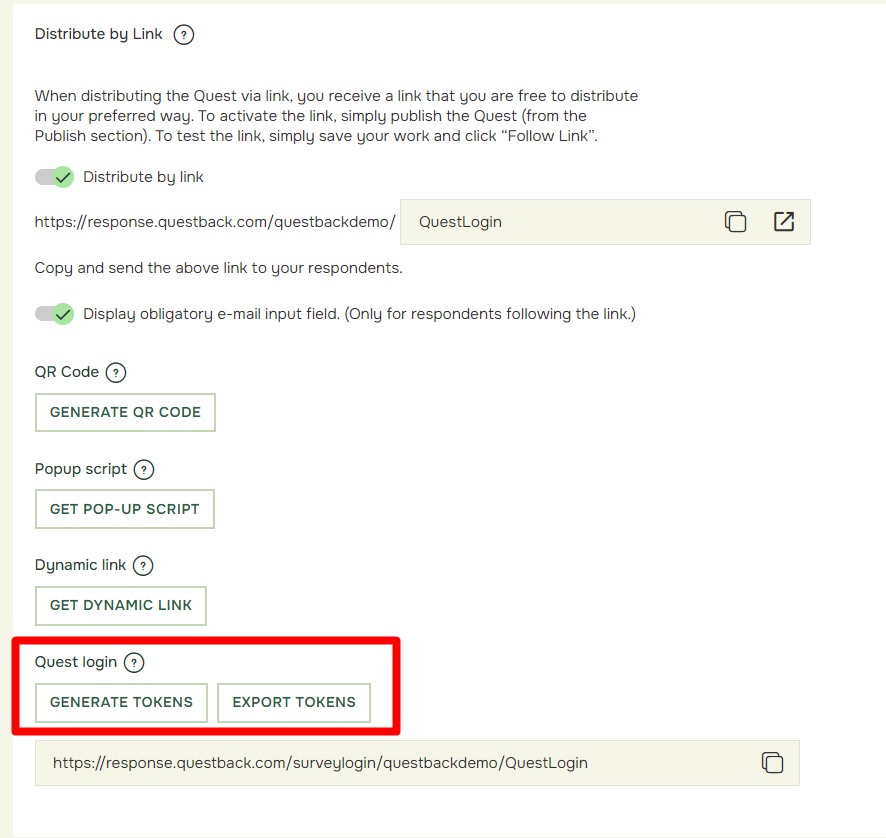
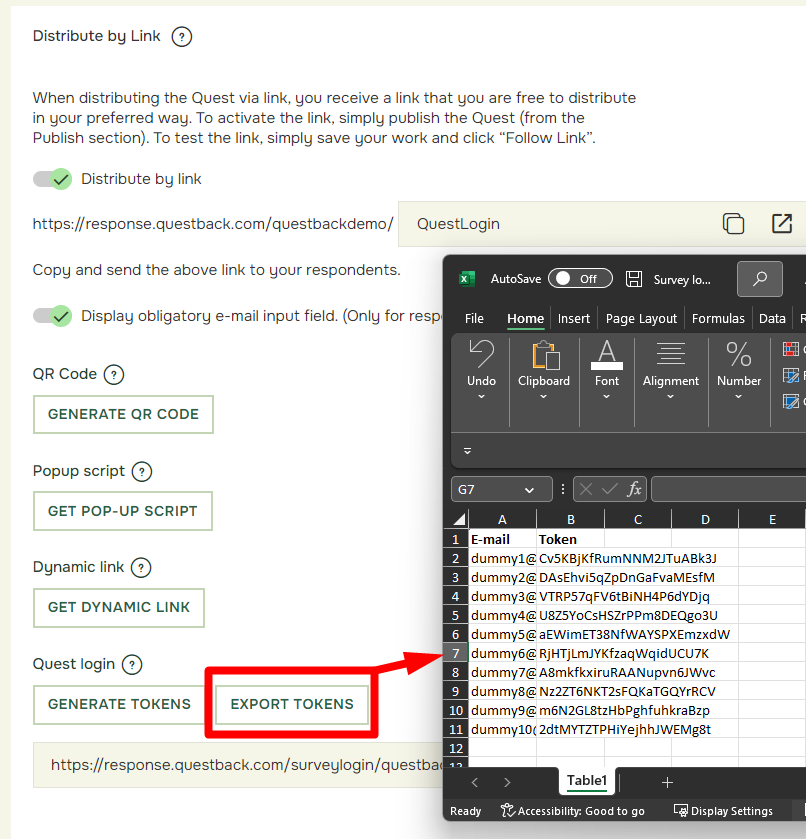
Export tokens
Tokens can be exported with the Export tokens button:
Answer to Quests with Quest login
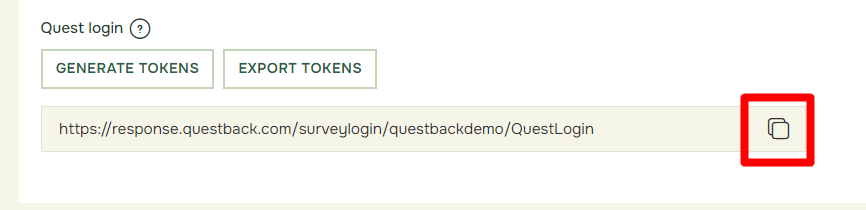
Note that Survey login has a separate URL that differ slightly from the general “Distribute by Link”. Copy this link and share it with your respondents, along with their personal token:
When using the link, respondents will be asked to enter their unique token before answering:

Quest login and Respondent data
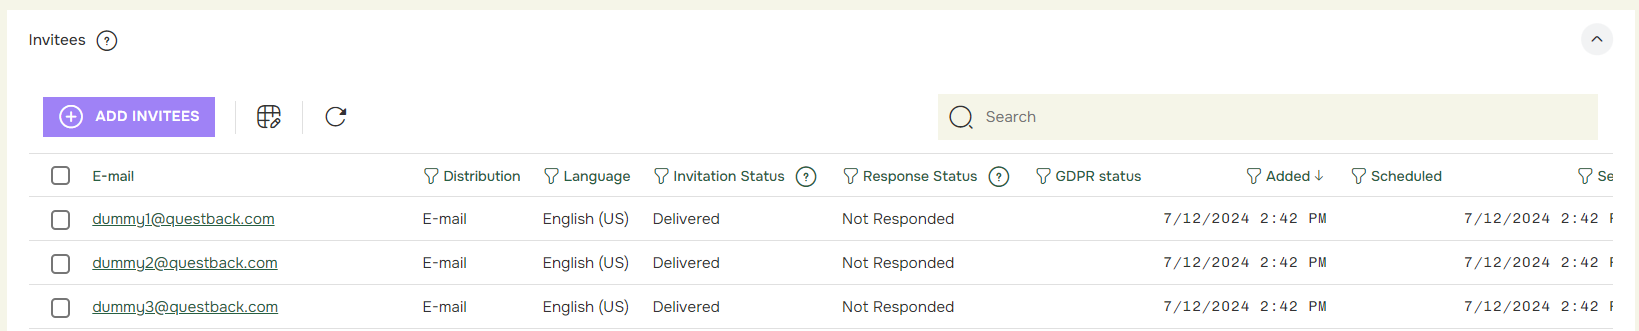
Generated tokens will show up as unique invitees in the Invitees list. Here you can keep track of the respondents’ response status:
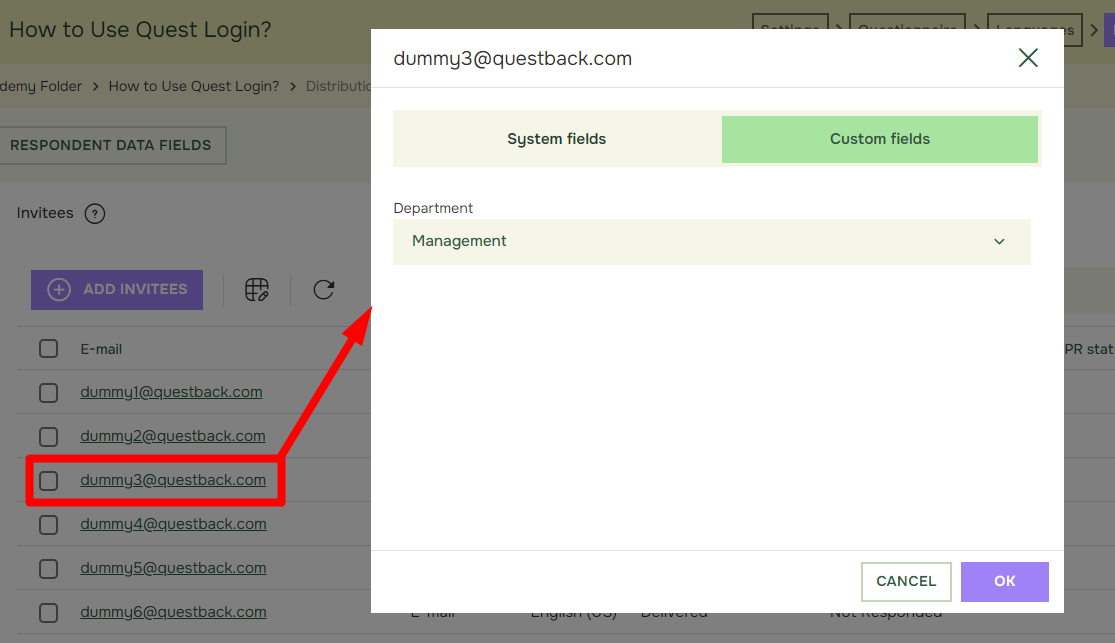
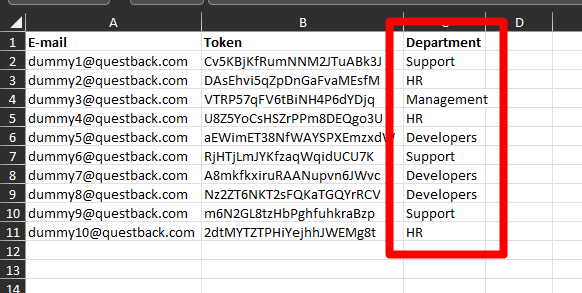
If you wish to add background data(Respondent data) to each token, add columns in the exported tokens document:
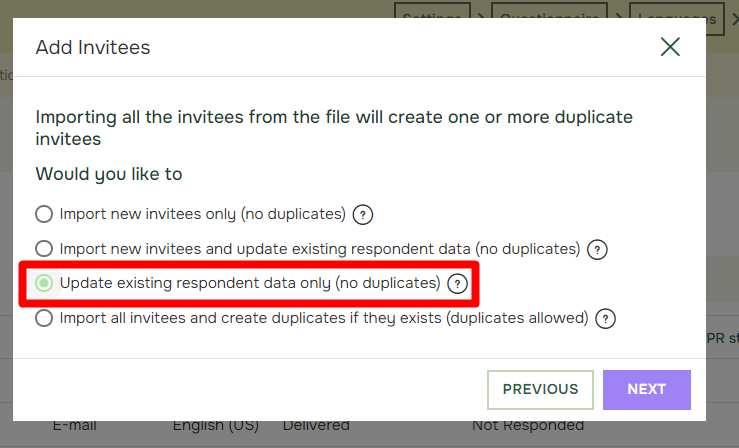
Then click Add Invitees and select Import File, Upload the file and add the custom fields. Then you will be presented with options for how the imported invitees should be processed. Select Update existing respondent data only and click Next:
The invitees will now be populated with the respondent data which can be used later on in reports and tags.