How to use Respondent Data Field Manager?
Last updated more than 2 months ago |
Print
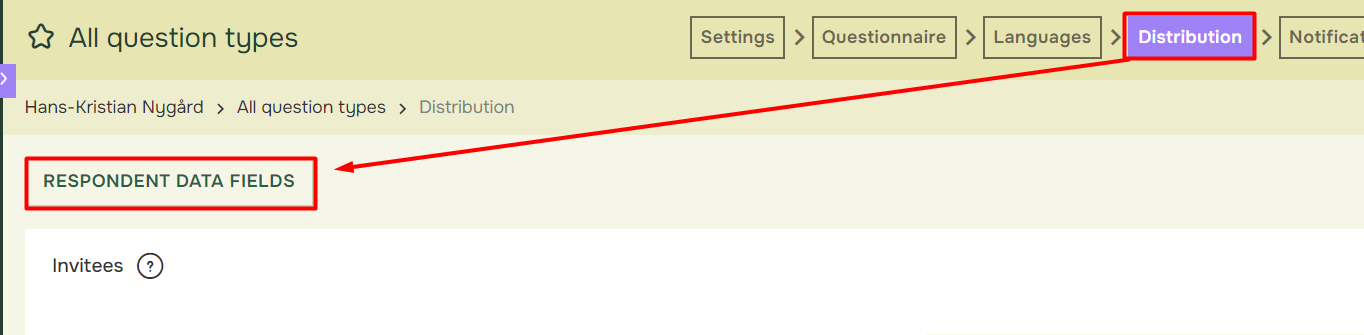
Enrich your Quest by adding respondent data through the Respondent Data Manager. This valuable information, already in your possession, can enhance your survey experience. The process is simple and provides options to create, read, update, or delete respondent data fields.
Adding Fields
You can choose between the three Field types when adding fields:
- Custom field: Store additional information about respondents.
- Mobile: Store cell numbers for SMS-invitations.
- E-mail: Store email addresses for email invitations.
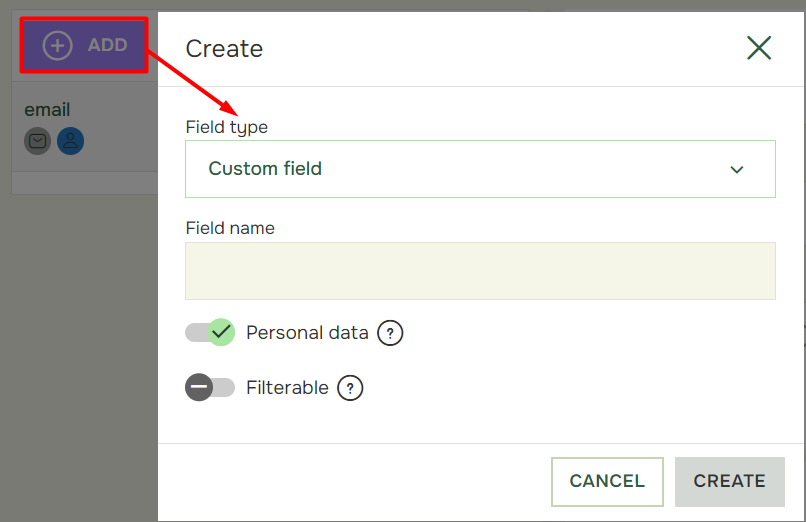
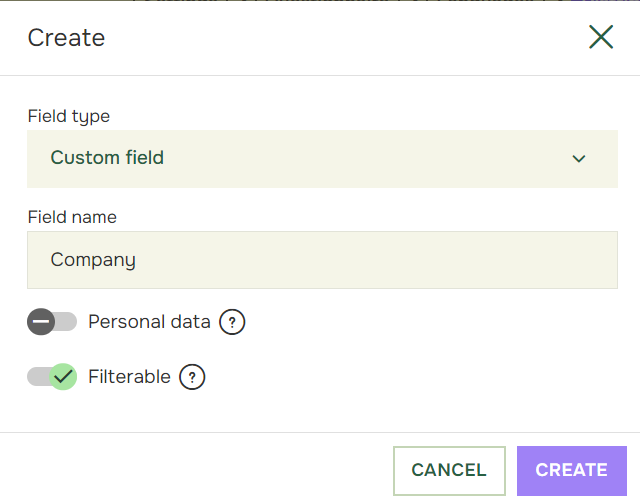
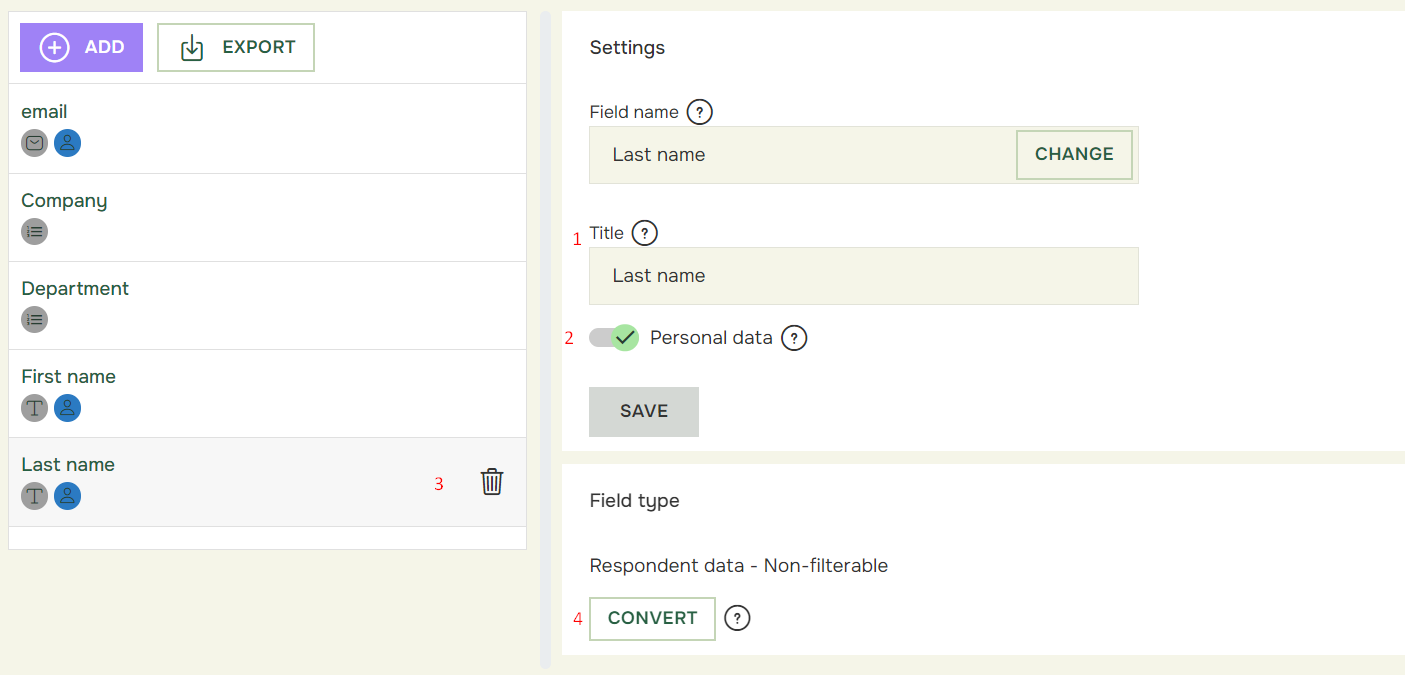
- Field name: enter a name that make it easy for you and your colleagues to understand what it is all about. Make it descriptive so you understand what the data is about whenever you need to use it (tags, routing- or filter conditions, crosstabulation in reports).
- Personal data: mark any sensitive- and person identifiable fields as personal data to ensure automatic deletion on retention period end (if the Quest is GDPR-enabled) or manual deletion of personal data from Results.
- Filterable: fields marked as filterable will be easier to create filters on. Each unique field will be stored as an answer alternative that you even can present to respondents as a drop-down question. Fields that have a lot of variation, like first- or last names, should never be filtrable to ensure great performance. For more details, see the part Convert fields below.
Update fields
If modifications are needed, you have the following options:
- Use Title to update the internal name used in Designer and Reports.
- Check/uncheck Personal data status.
- Delete a field entirely using the trashcan (locked after publishing).
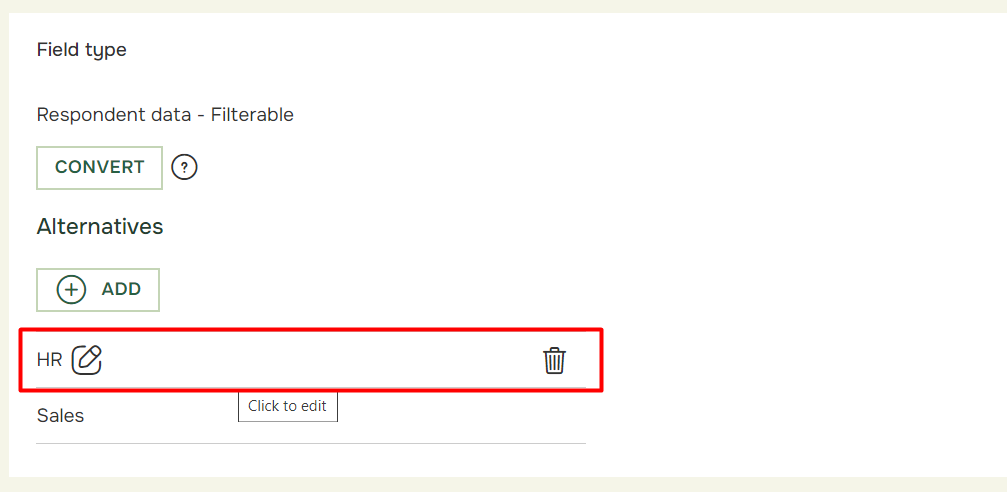
- Use Convert to set fields as filterable/non-filterable.
Exercise caution with filterable fields, especially if they have extensive variation or aren’t intended for routing or filters. High variations can affect performance, and Essentials will warn for fields with 250+ answer alternatives, urging conversion for better results.
5. Click Add to add new alternatives

- Click on any existing alternative to edit or delete an alternative:
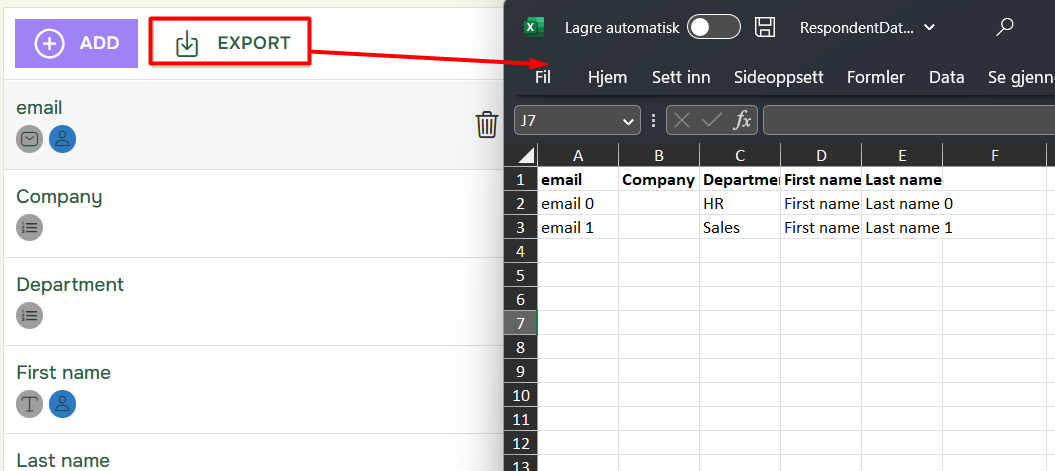
Export
If you need a template for import file before importing- and inviting your invitees, use “Export” to get an updated spreadsheet with your respondent data fields.
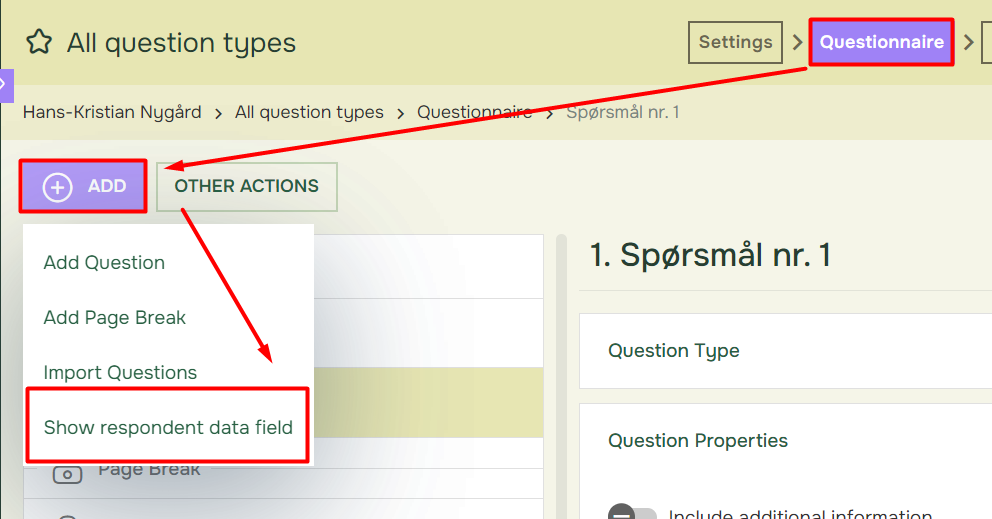
Show respondent data field
Showing respondent data fields to respondents can be useful if you have old- or incomplete data and want to verify if the respondent data by presenting it to the respondents as a question.
- From Questionnaire, click Add and Show respondent data field:
- Then mark the fields you want to present:
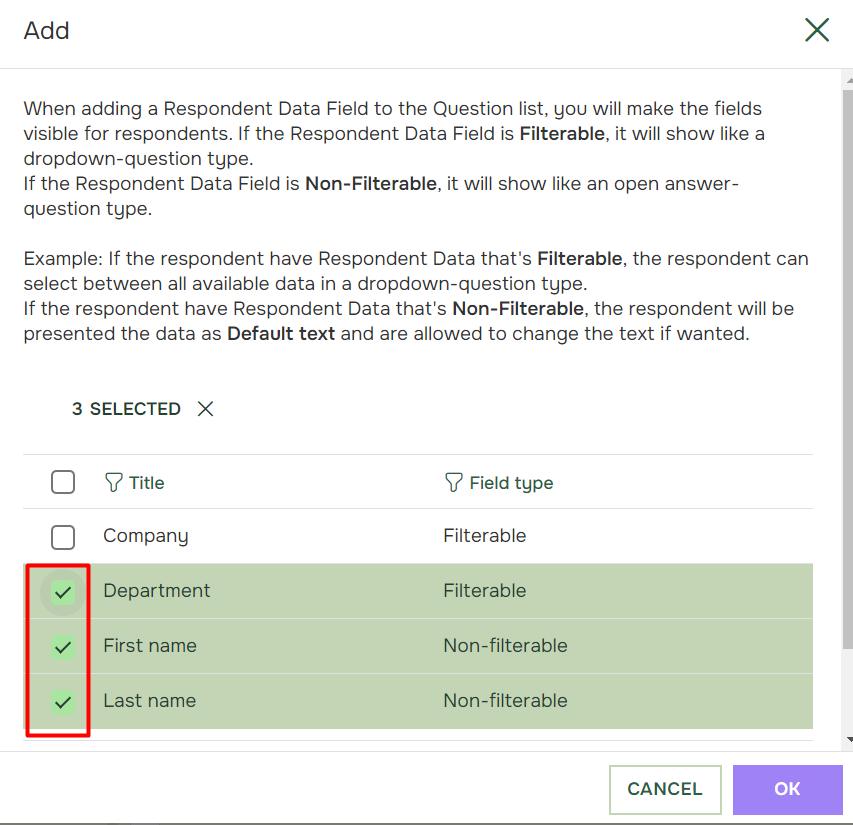
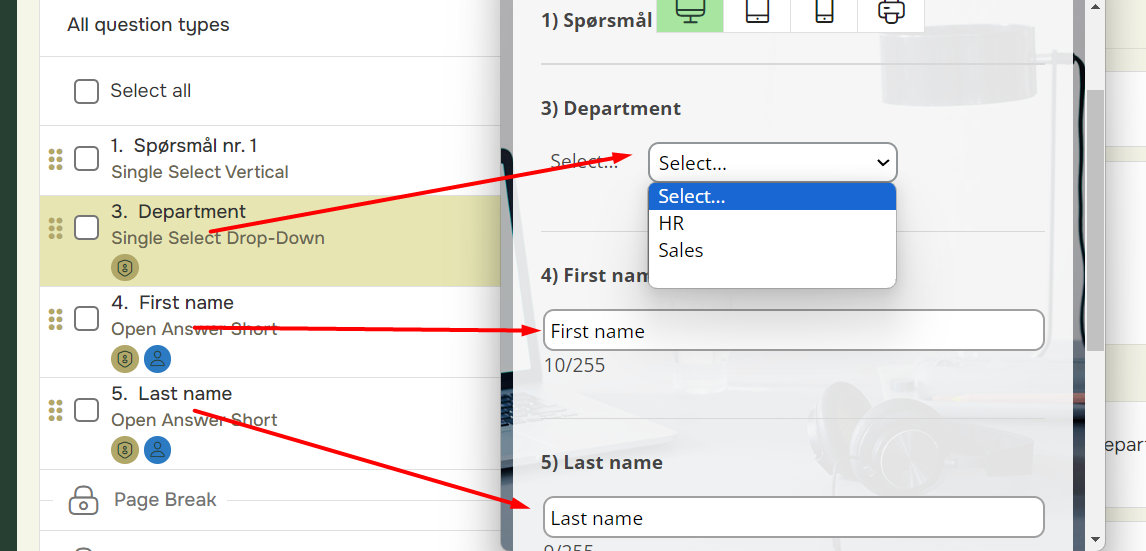
These questions will be automatically answered the corresponding fields from the uploaded respondent data, and blank if missing. The respondents will be able to review and update the:
- Non-filterable fields by entering text (e.g., “Last name”)
- Filterable fields by selecting alternatives from the drop-down menu (e.g., “Department”)