How to Validate your Respondent Data using Questions
Last updated more than 2 months ago |
Print
To control that your background information about respondents is correct, you may ask your respondents directly to verify it.
Example: we run existing contact information by the respondents, including their names, addresses, departments and phone numbers, to verify it.
This requires at least three steps:
- The current Respondent data is uploaded using Distribution and Import file
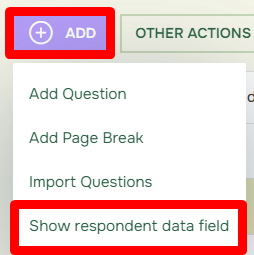
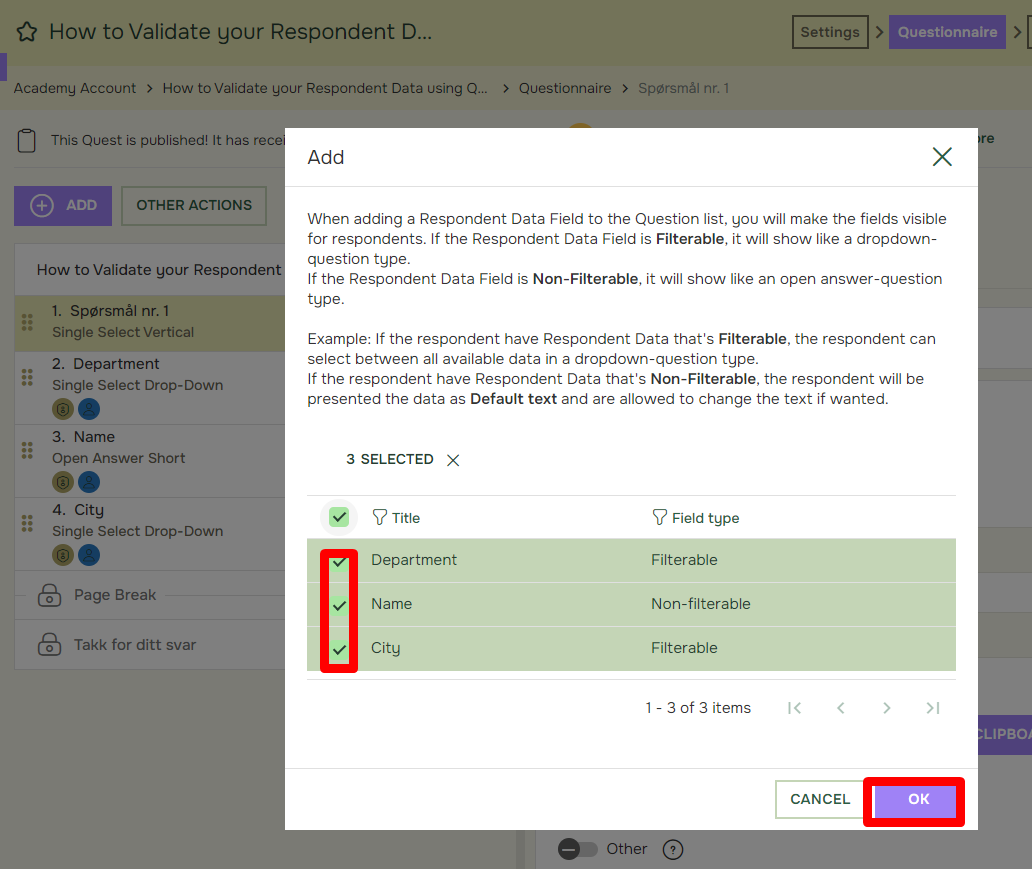
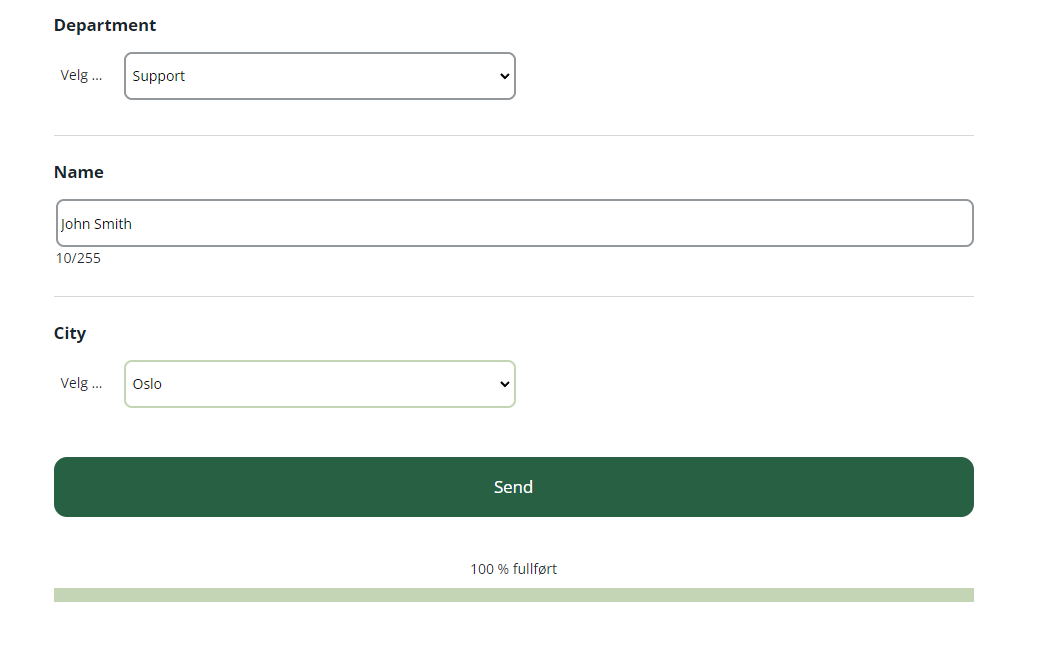
- Use tags to retrieve the respondent data fields
- Include the Other option so that respondents can suggest updates to incorrect information
The Respondent data will be connected to each respondent (i.e. full variation) and fields containing unique information such as names etc. should NOT be imported as filterable to ensure optimal performance in your Quest.
Single select questions with the alternatives Yes/No is most suitable for verifying your respondent data:
Open the Include additional information box, and insert the Name tag, Then copy the name tag and paste it into the Question text:
Now the tag will be replaced with the name defined in the respondent data field.
- The other alternative(No) should encourage respondents to suggest improvements if the presented information is incorrect.
This can be done by adding “Other” as aleternative and in the text box add “No, my full name is”. The respondent can then add correct information:
When respondents have answered, it is easy to identify non-positive answers (i.e. not “yes”) to the Respondent data questions using Responses under Results and selecting the relevant columns:
You update these respondent’s information directly by clicking on their email address or Response ID to open their response, and choosing Custom fields and edit custom fields:
When all respondents have answered, and updates have been saved, you may export the distribution list from Distribution to get the updated respondent data.
The actual Tags or data from them will not show in a Test Quest.