How to add translations to a Quest
Last updated more than 2 months ago |
Print
Essentials offers an in box solution to translate your Quest into one or multiple languages. After you have added questions and designed your Quest, it is ready to be translated.
- When navigating to Languages in the top pane, you will see the Default language is automatically set according to your user-specified language. If the Quest was duplicated, the default language of the original Quest will be set as default language.

- In this example the default language is english, we will translate to Norwegian and Swedish. The process is the same no matter which language wish to translate to.
Click on the Add Language Button, then choose your desired language and click Add.
- The languages are now added and ready for translation. Choose if the respondent can choose their desired language, or if the Quest is to be presented in the language of invitation.
 Now that we have added the languages, we must add the translations. This can be done in 2 ways:- By clicking Edit translations() and enter each text manually() in the next window.
– Or by exporting an excel document, then filling in the translations before uploading the document again, you may choose to export all Languages(1) or one by one(2):

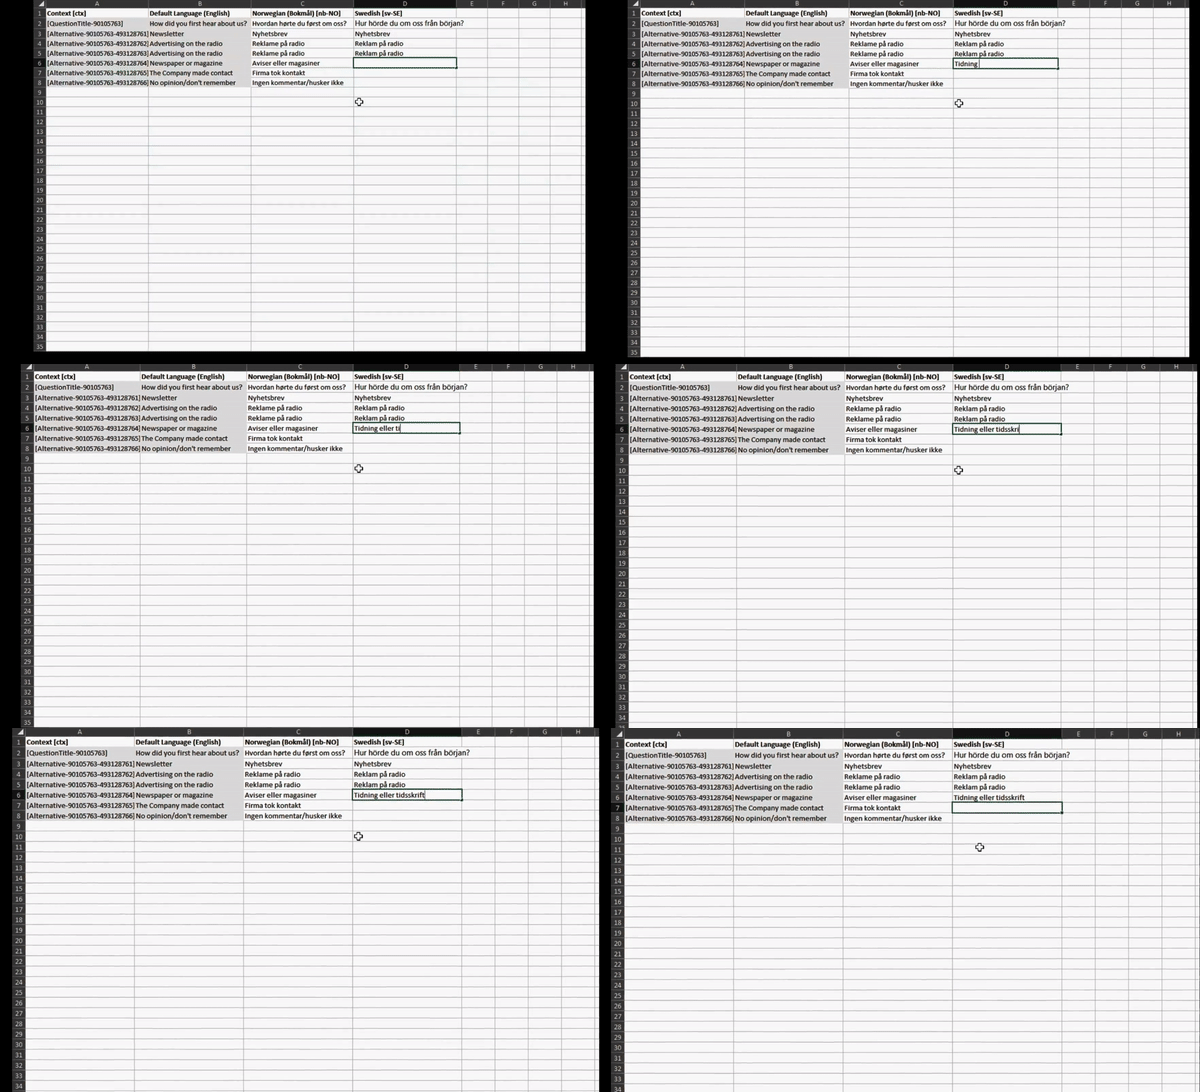
 When exported the excel spreadsheet will contain Context Data(1) in the First Column followed by the Default Language(2) in the next column. In the following columns you will see Your Languages(3). You may now enter the translations into each row.
 Do not change the Context data field; the Default Language field or the headers, if changed the upload will fail!
- You may now enter the translations into each row:

After filling the translations the document is ready to be uploaded. Navigate to Languages again and click Import:
NOTE: If you wish to upload for one language at the time, use the Export button next to each language.When the upload is complete, you will see the progress for each translation: The Quest is now translated. You may do a preview of the Quest by clicking Preview Quest and changing between the languages in the drop down menu on top:
 If you wish to test the Quest and see exactly same view as the respondent, head over to Distribution , and Send a test to yourself by clicking Send Test.
Please note this will only translate the Questions and answer alternatives. Navigate to Settings in order to translate the Quest introduction and thank-you page.


 Now that we have added the languages, we must add the translations. This can be done in 2 ways:- By clicking Edit translations() and enter each text manually() in the next window.

 When exported the excel spreadsheet will contain Context Data(1) in the First Column followed by the Default Language(2) in the next column. In the following columns you will see Your Languages(3). You may now enter the translations into each row.
 Do not change the Context data field; the Default Language field or the headers, if changed the upload will fail!

 The Quest is now translated. You may do a preview of the Quest by clicking Preview Quest and changing between the languages in the drop down menu on top:
 If you wish to test the Quest and see exactly same view as the respondent, head over to Distribution , and Send a test to yourself by clicking Send Test.

