How to create a new Report
Last updated more than 2 months ago |
Print
When creating a Quest, a Report with the same name as the Quest will be automatically generated. However, you can create multiple reports and customize each one individually.
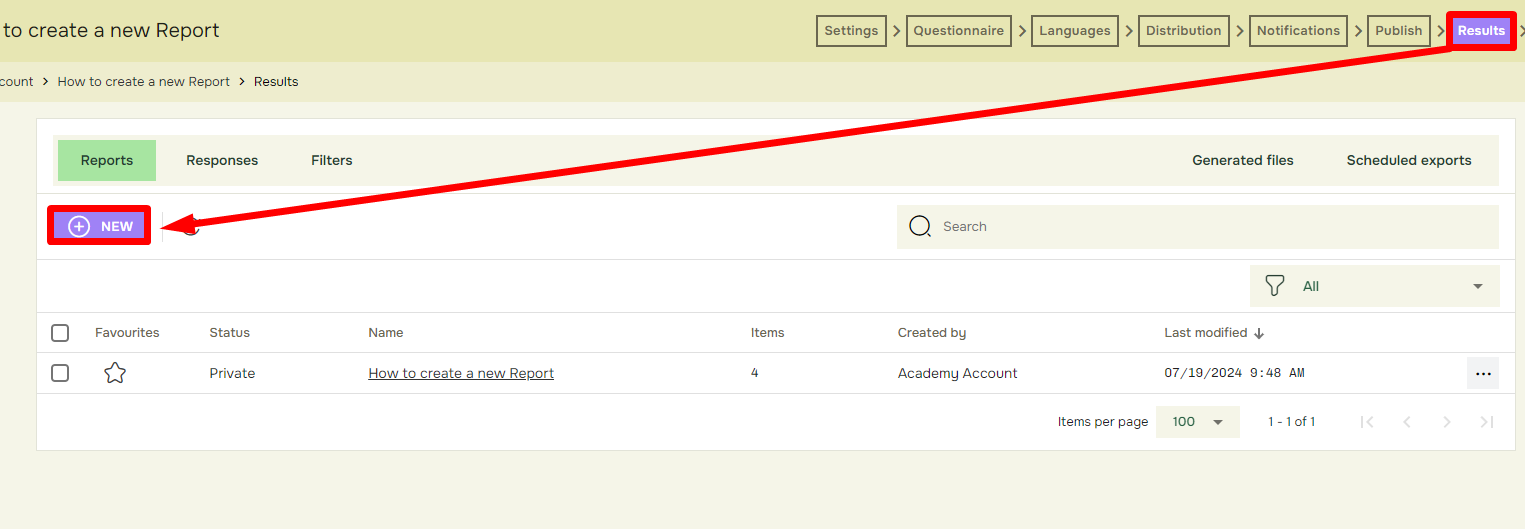
- To create a new report from scratch, navigate to the Results pane by and click New:
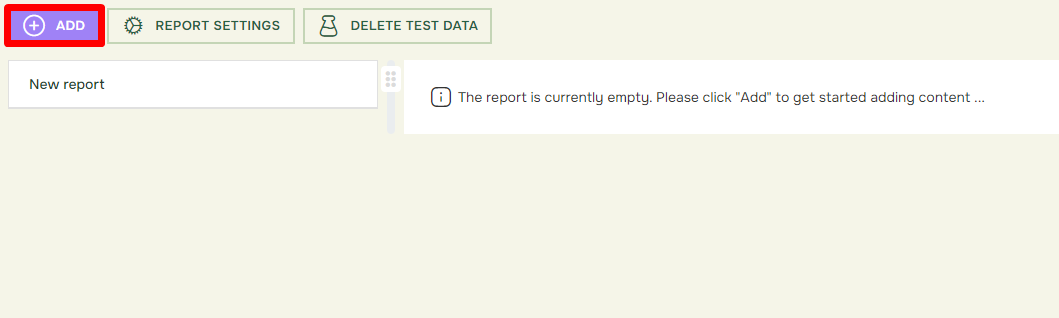
- When you have created and opened the new report, you must click The Plus-button to add the questions you want to use in your report:
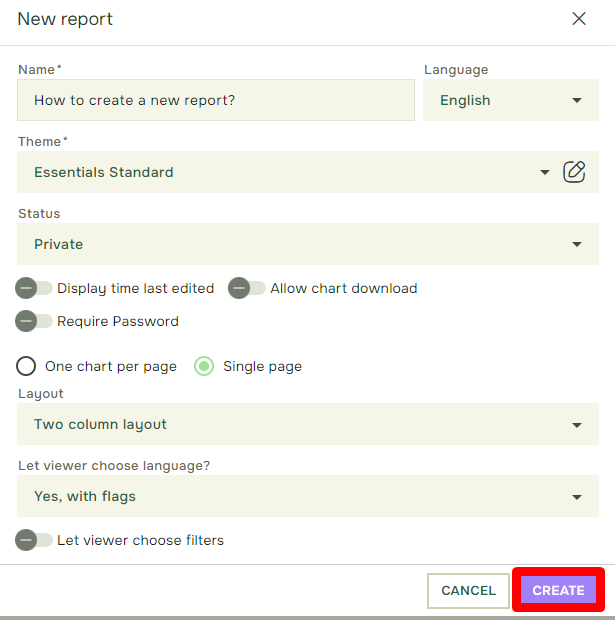
- Next, we have the Report settings. You canf find a explanation for what each field does below.

A: Report Name: Here you give your report a name and title. This report name will show up in all new exported and downloaded formats, and in your LiveReport.
B: Theme*: Here you choose the background design design of the LiveReport. Note: You can make your own report theme from Managers > Theme Manager >New Report Theme.
C: Status*: To make the LiveReport accessible for others, the status must be set to «Public».
D: Display time last edited* will notify LiveReport readers about the last time and date the LiveReport was edited.
E: Require Password*: Click «Require Password» if you only want to password protect your LiveReport. A password will be auto-generated, with the possibility to change it to a desired password.
F: Allow chart download: Will allow viewer to download charts. Supported formats: PNG, JPEG, PDF & SVG.
G-H: Layout*: You may choose between showing your LiveReport as one chart per page (default) or a one-page layout with either one-, two- or three columns layouts.
i: Let viewer choose filters*: If you click «Yes, give LiveReport viewer access to selected filters», you will be able to choose amongst existing Value filters and Interval filters that respondents can enable when reading the report.
All the fields mentioned above can later be edited in Report Settings when inside your report.