How to use Respondent Data?
Last updated more than 2 months ago |
Print
Importing respondent data to a Quest offers significant advantages:
Shorter Quest: Fewer questions make the survey more efficient and engaging.
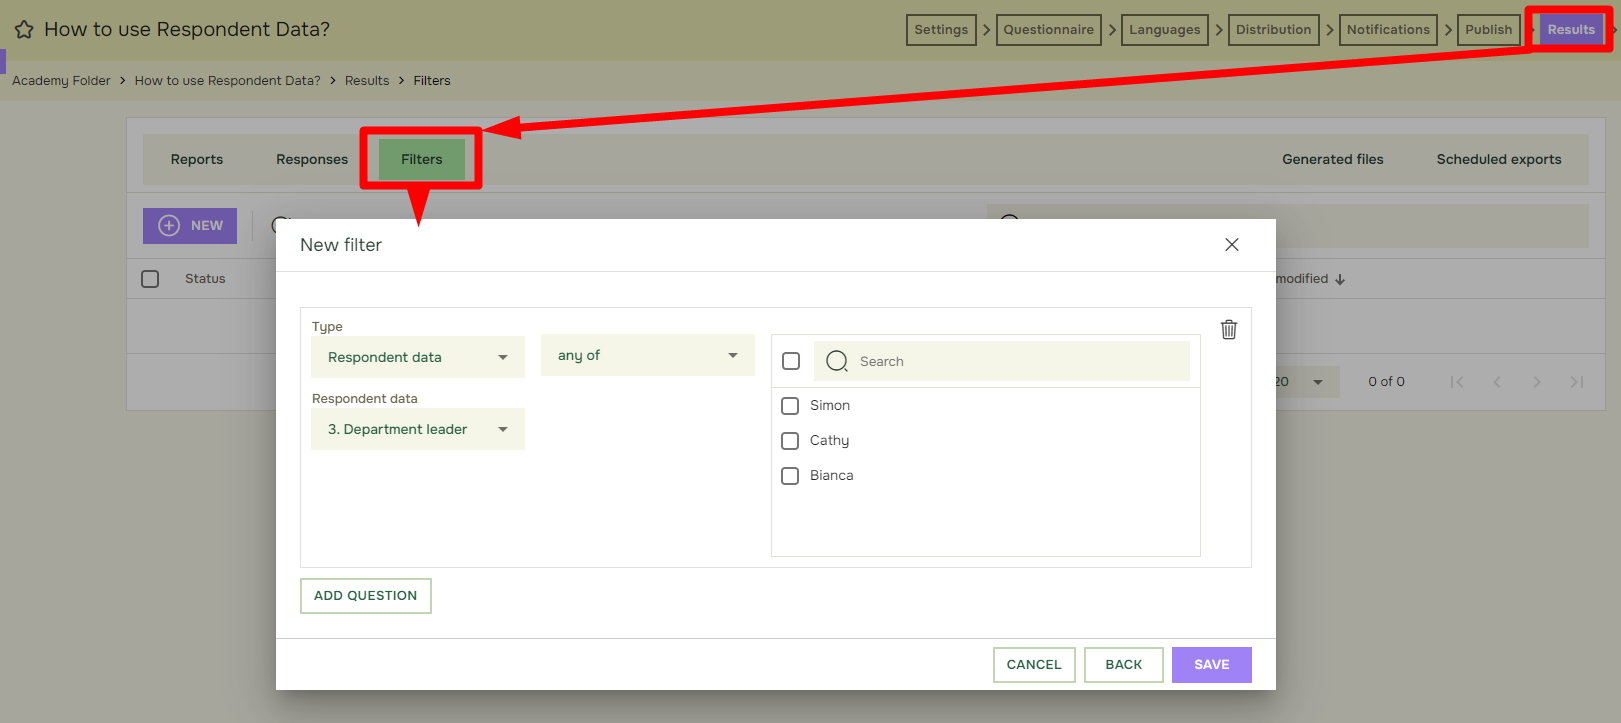
Value Filters: Use respondent data to create value filters for targeted reporting and follow-up activities.
Enhanced Routing: Utilize respondent data in routing conditions for more tailored question paths.
Personalization: Employ respondent data tags for a customized survey experience.
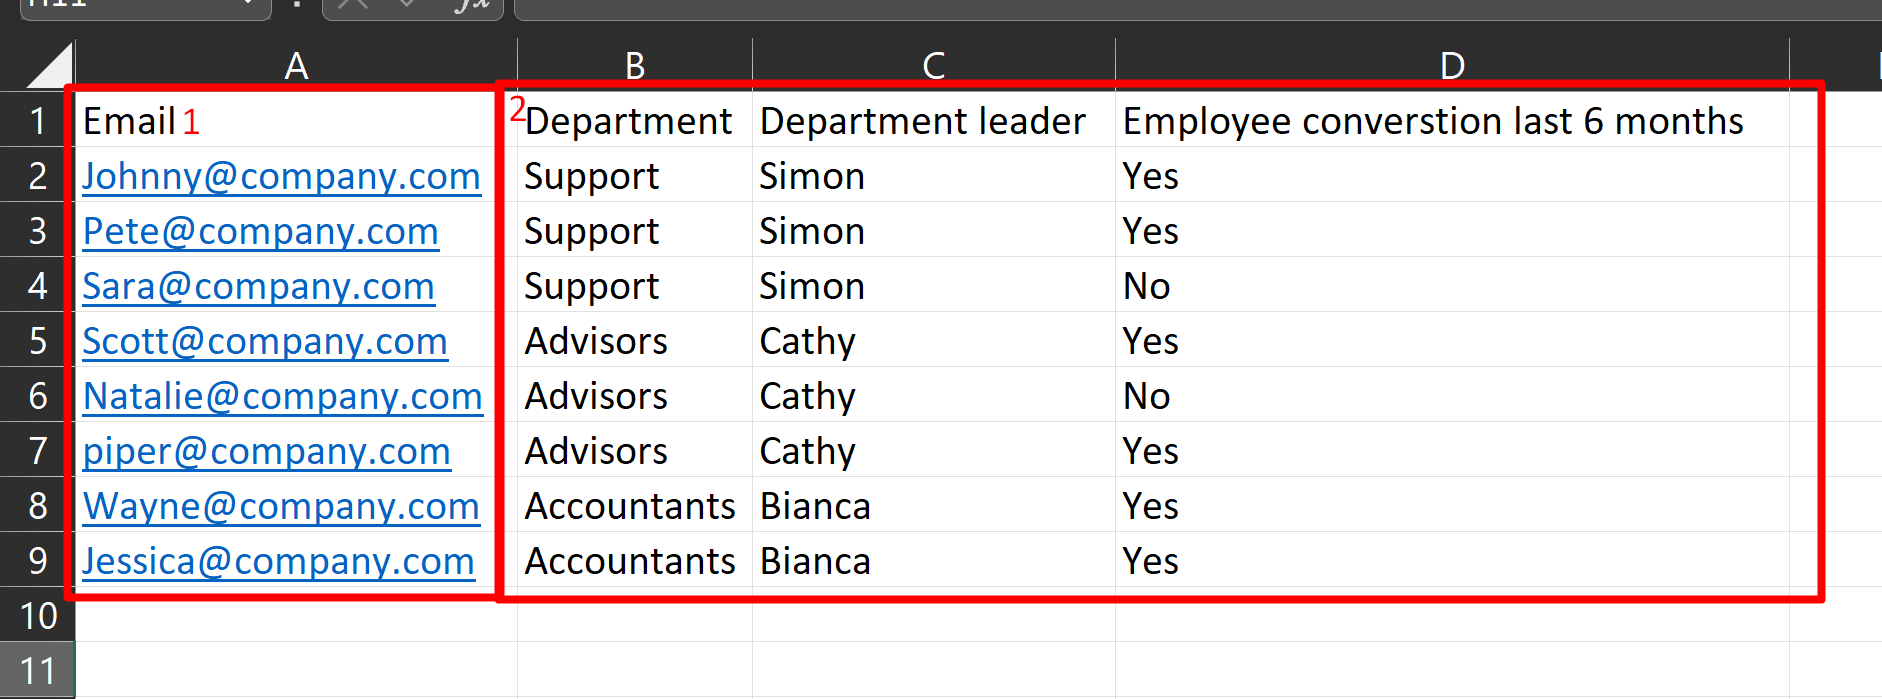
- Below is an example on how a respondent data file should be built up in Excel.
1. This is the system field. The respondents must be filled in here.
2.These are custom fields. When imported, the system will use the headers (e.g “Department”) as question texts on hidden questions. The information below (e.g “Support” and “Advisors”) are answers on hidden questions.
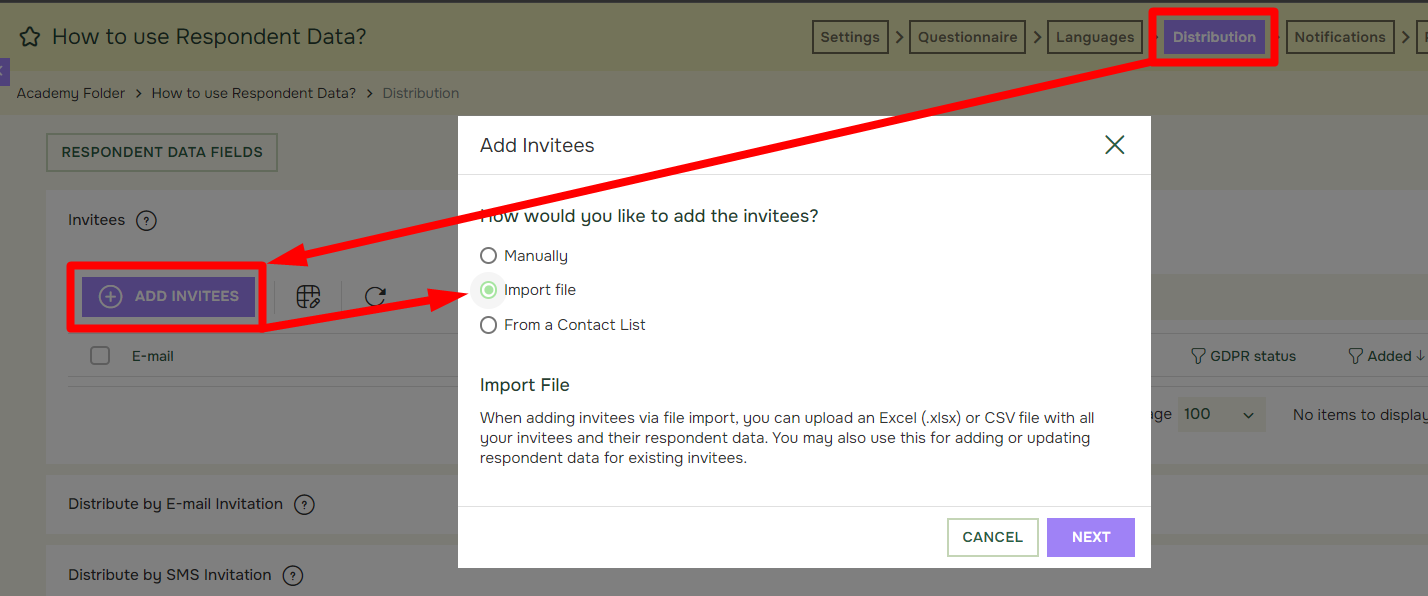
- To import the file, follow these steps:
- Go to the Distribution tab.
- Click on Invitees and then Add Invitees.
- Choose “Import file.”
- Click Next.
- Click Select files(or use drag & drop) and upload the file containing the respondents
- On the next page you will see a preview page of the first two lines in the file you are about to upload. If the first row contains headers, and the intention is to use these headers, make sure to click the button First row contains headers, and then click Next. If the first row doesn´t contains headers, or the intention is to use other headers, make sure to not click the button First row contains headers, and then click Next.

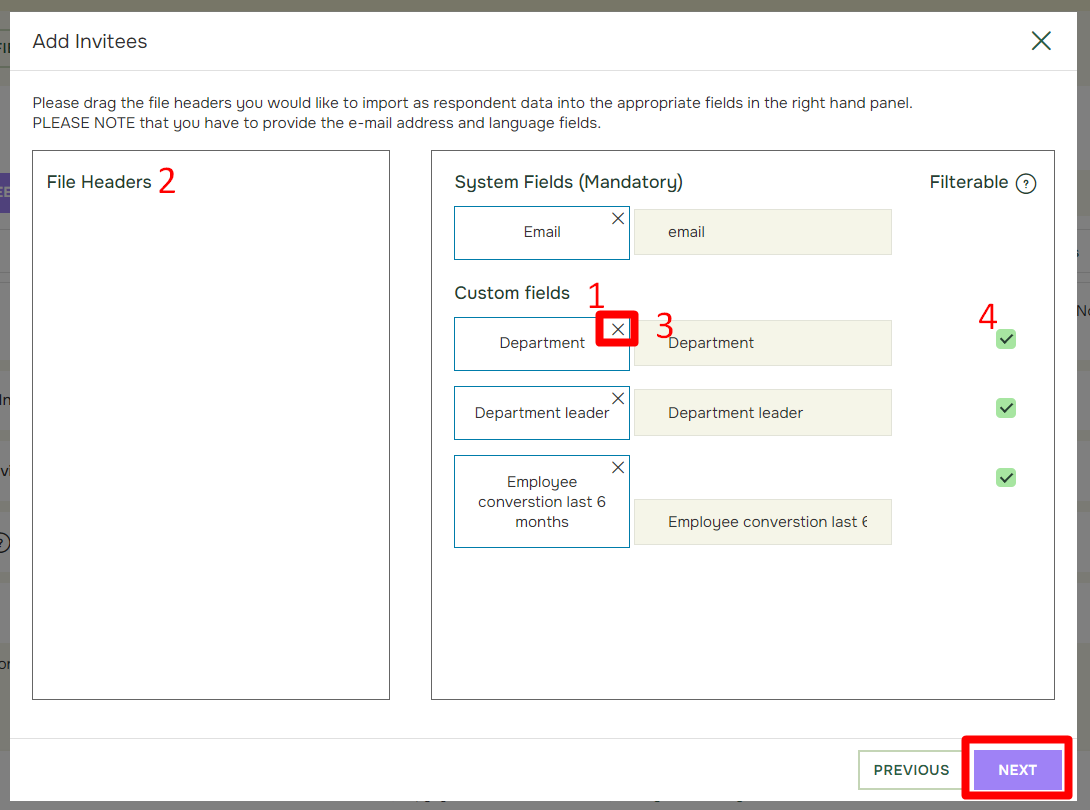
- On the next page you will have different possibilities before finalizing the importing process.
- You can choose to not import a custom field. Click the X-symbol(1) to not include.
- File Headers(2): This is where the not-imported custom fields will be placed. You can later undo this action simply by using drag & drop or by pressing Add all (scroll down to find this button)-
- Custom field name(3): You may change the name of the field if desired.
- Filterable(4): If you want to create value filters e.g in the reporting, or if you need to give specific questions to specific respondents (routing on respondent data), this button has to be checked.
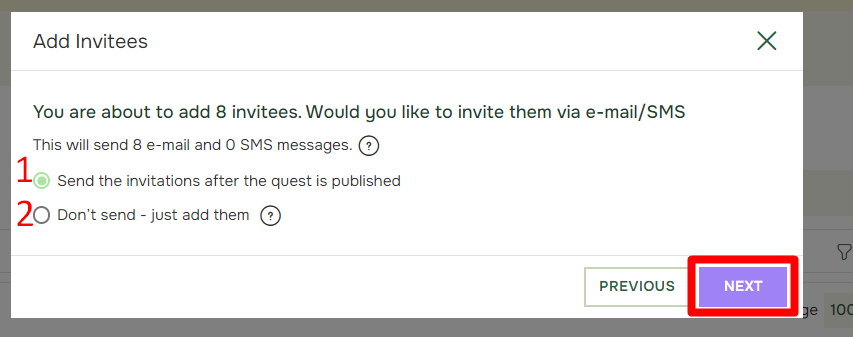
- In this last section you must choose whether the quest should be (1) sent automatically after the quest is published, or (2) if you want to manually send out the invitations from the Invitees-list after publishing the quest. After you have made a choice, click Next.
So, after the importing process is finished, what are the different things you can do?
Example 1:
- The e-mail invitation can be personalized with the use of respondent data tags:
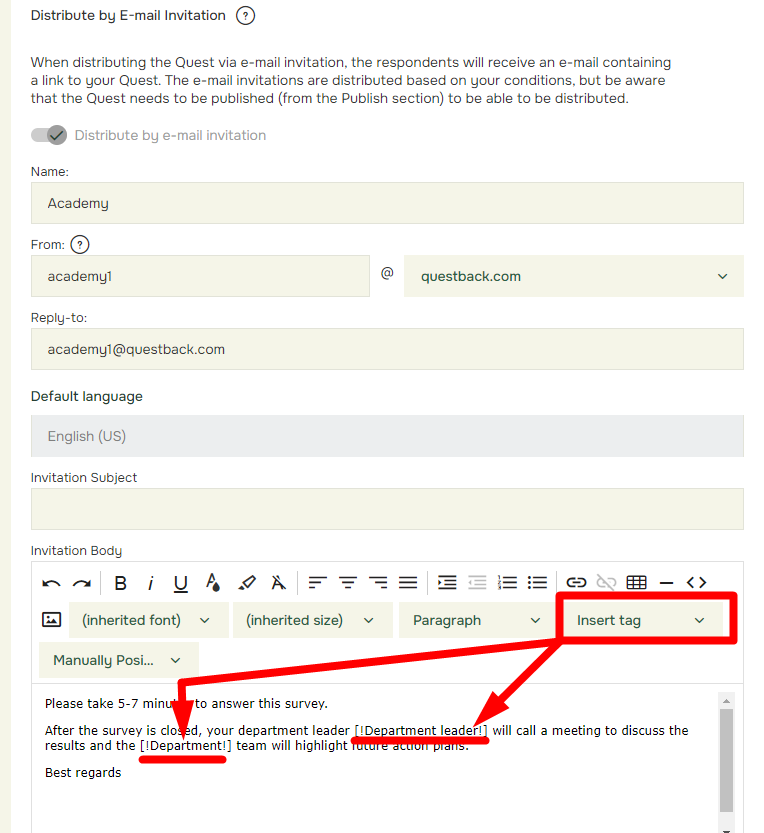
Tags can be used everywhere, e.g the e-mail invitation, questions text, additional information boxes (above the question text), answer alternatives, the quest introduction, the thank you note, in notifications etc.
Example 2:
- It´s possible to use the information in routing conditions.
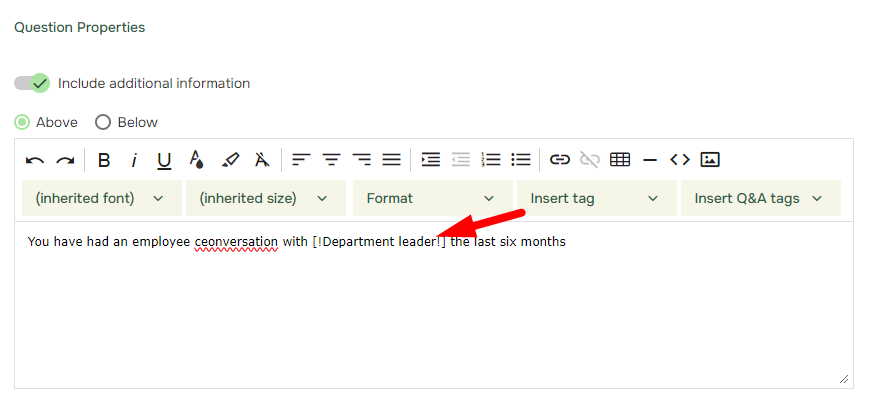
After you have created a relevant question by using Question Properties in Questionnaire:
You can scroll down and open the menu Display Logic (Off) and then select + Create condition
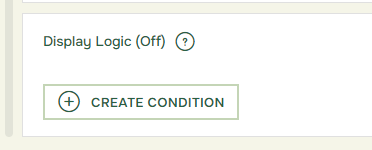
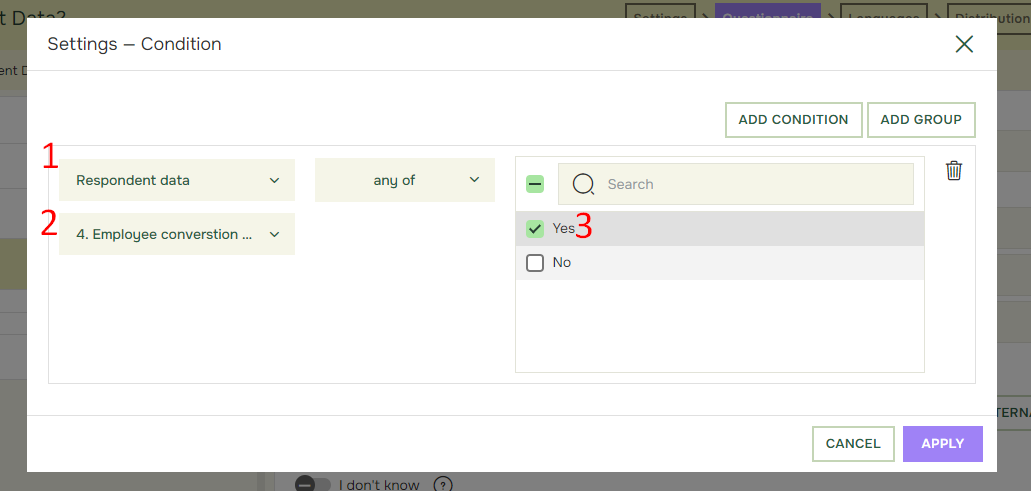
In the condition settings, you must 1) select Respondent Data, then 2) the relevant custom field from the imported file and finally 3) mark the group of respondents that will receive the question, in this example the Yes-group. Then click Apply.
Example 3:
- You can create value filters to use in the reporting and in follow-up activities