How to use create Quest themes
Last updated more than 2 months ago |
Print
Custom themes can be created and applied to one or more Quests. Here you can use custom backgrounds, colours and fonts for your texts along with your own logos. You can also create a theme for your report and your emails. This article will cover how you can create a theme for your Quest.
If you wish to create your own custom quest theme, you can do the following:
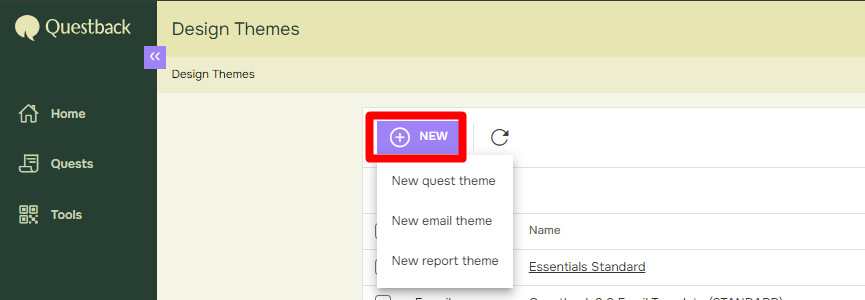
- From the sidebar, select Tools and then choose Design Themes

- Select New and then New Quest Theme
- Choose a name and starts customizing
You have several options when it comes to the customizing. Start by writing the name of your theme. After that you may edit or add the following:
- Background Color
- Text color
- Highlight color
- Header & Base font
- Logo
- Background image
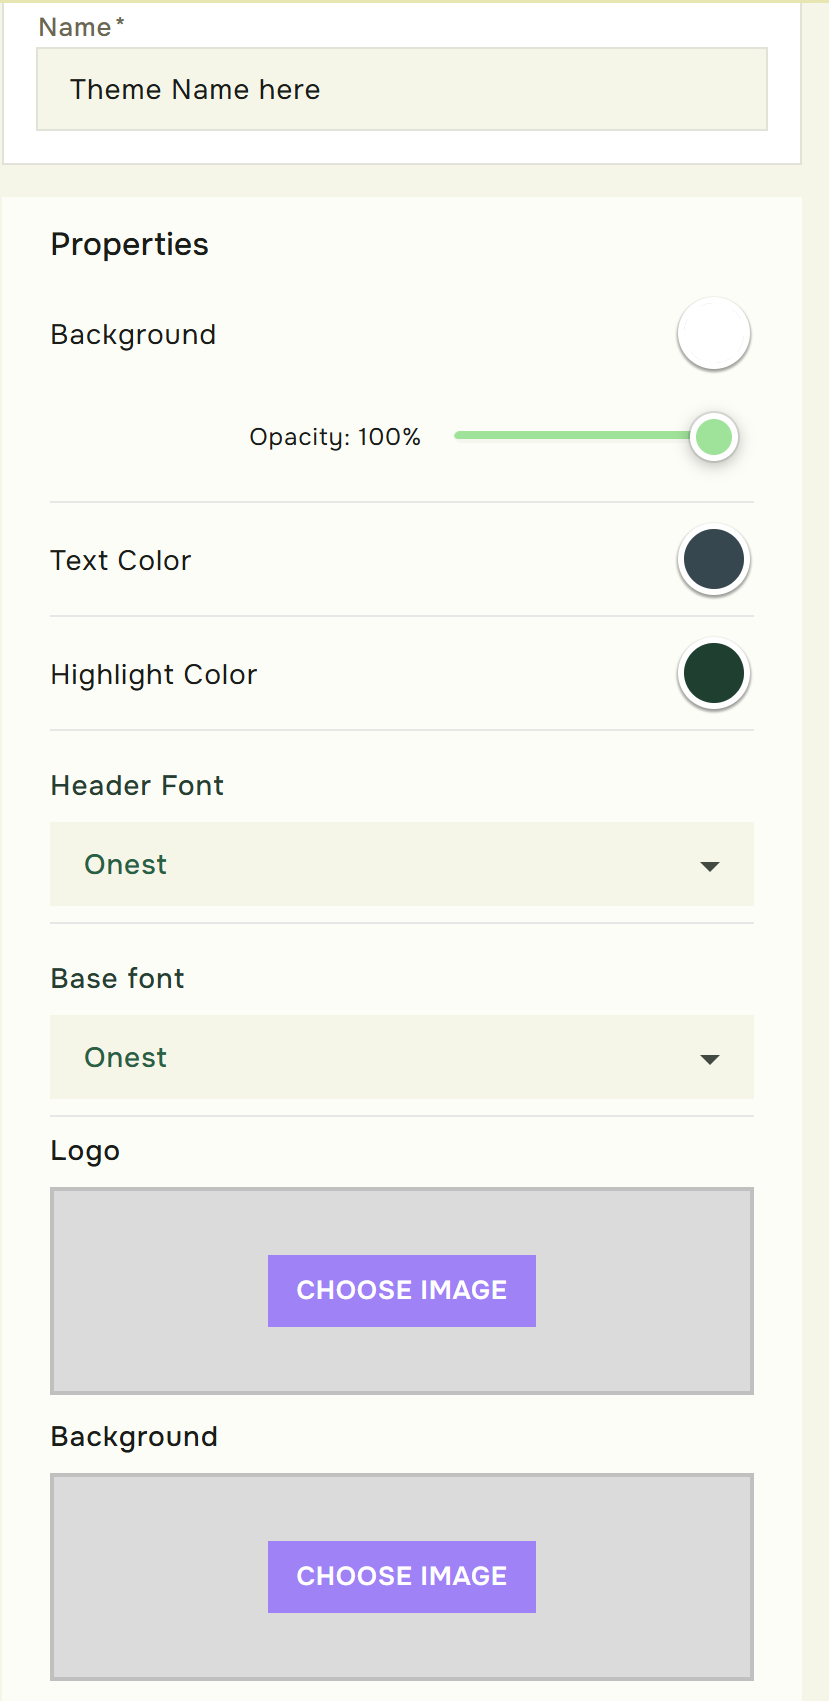
Logo:
From the logo section, you can choose an image as logo in your quest.
You can do this by selecting Choose image and then upload a file (from your desktop), link media or previously uploaded media content.
Background image:
Under background image you have the options to add an image as background in the Quest, you can also increase the opacity of the background color to make it blend with your background image.
Text:
Under Text you can pick and choose between different fonts. If you wish to use your own font which is not available in the drop down, simply upload the font file to our media library and find it in the drop down shortly after. We support most common font file-types such as .otf and .ttp.
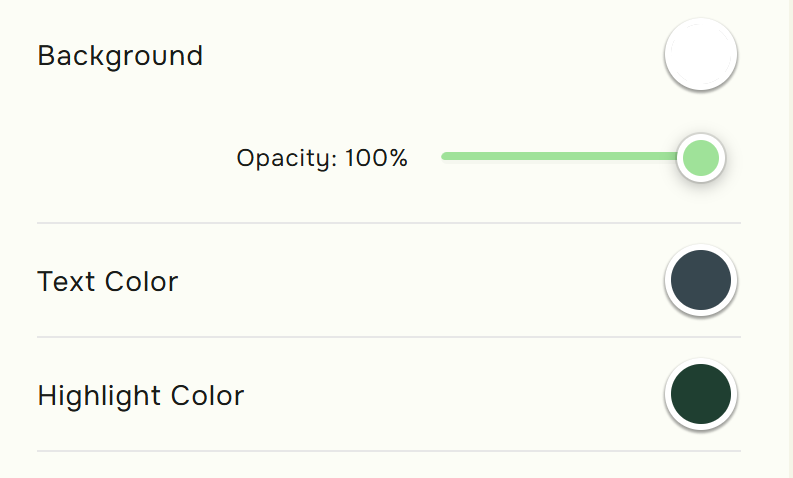
Colors:
In the colors selection you can apply different colours and select the transparency of the selected colour (alternatively: provide the RGB- or hex values directly). Easily set and edit Background, Highlight and text colors and the Theme design will automatically map the colors to objects in your Quest: