How to use Invitees?
Last updated more than 2 months ago |
Print
In this short tutorial video we show you How to add Invitees. More information can be found below
- Under the Distribution tab you will find the Invitees menu.
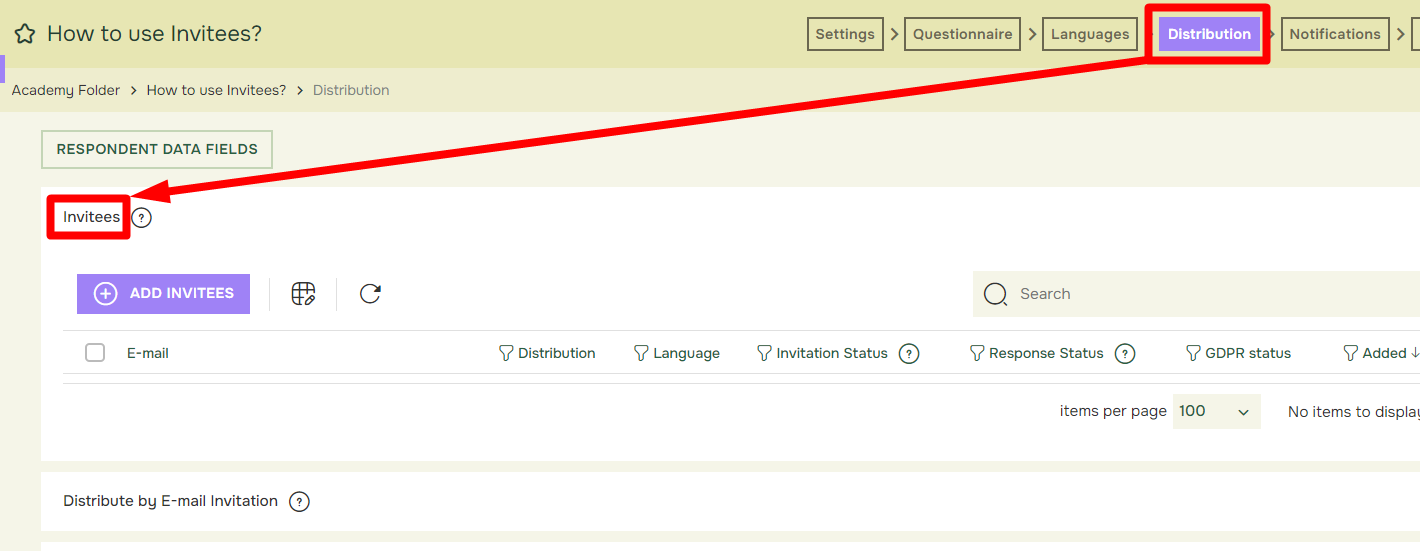
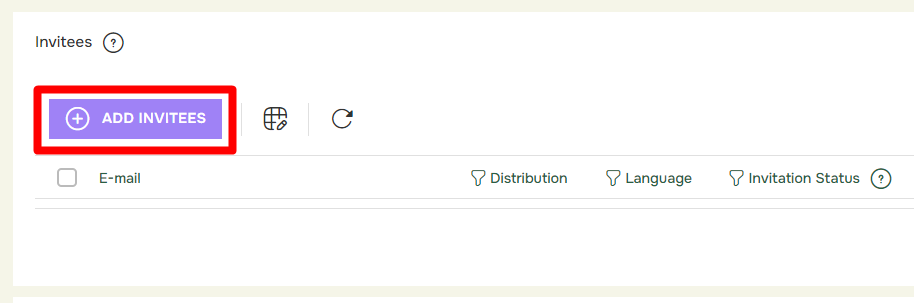
- To add invitees, simple click the Add Invitees button.
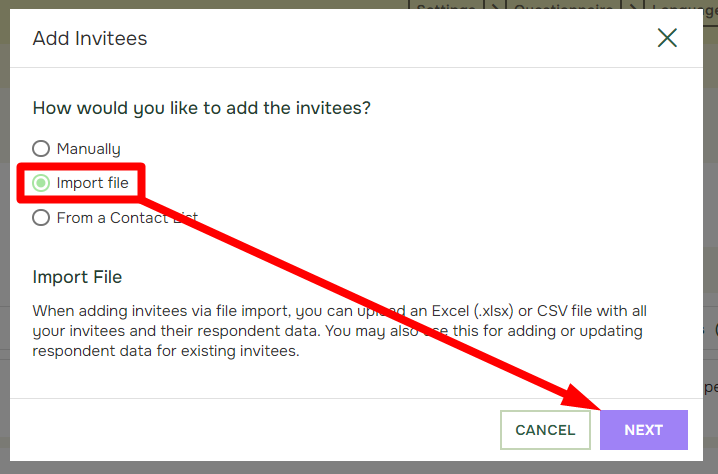
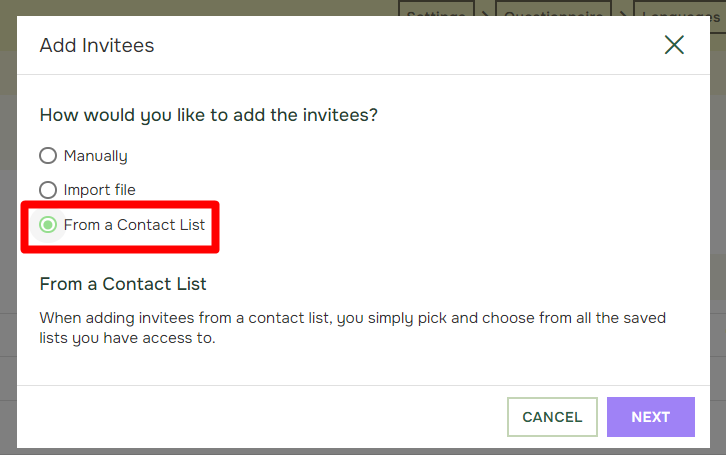
- This will allow you to choose between three options: Manually, Import File, or From Contacts.
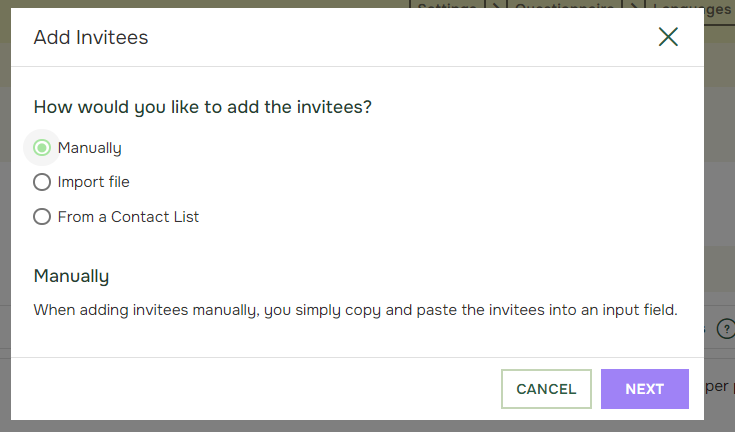
Add invitees manually:
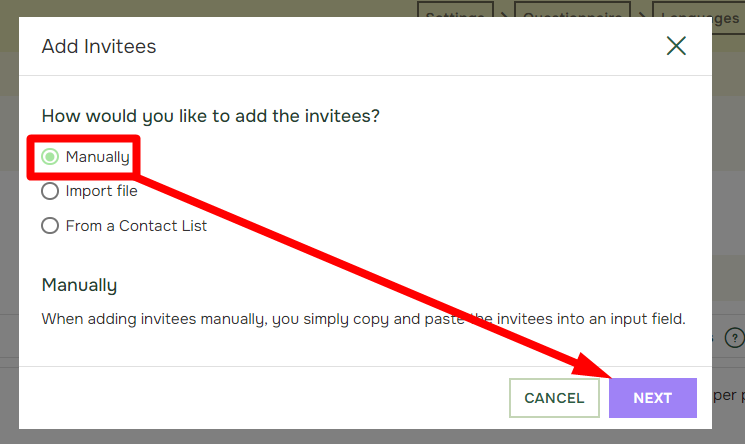
- Choosing Manually and pressing Next will let you manually enter invitees.
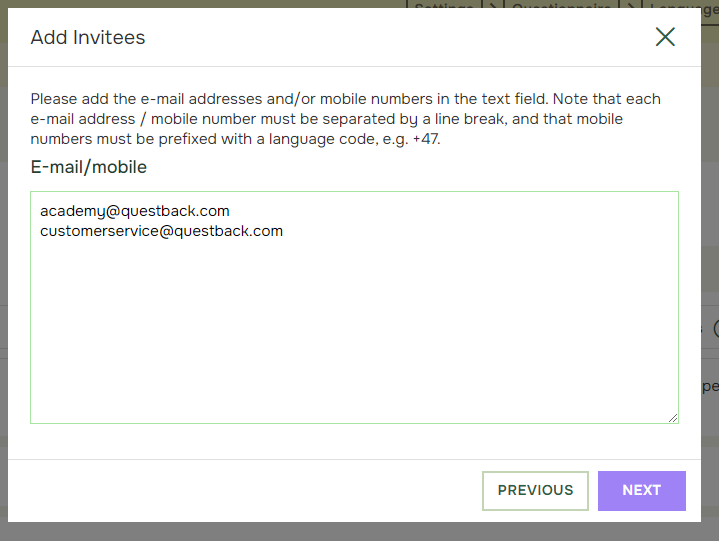
- In this field you can manually enter multiple invitees by adding a line break between each invitee or copy and paste them in from a list as long as they end up below each other. This happens automatically if you copy a column with emails in Excel and paste it into the box. You can add E-mail addresses or phone numbers depending on how you plan on distributing the quest. When you have entered all the invitees click Next.
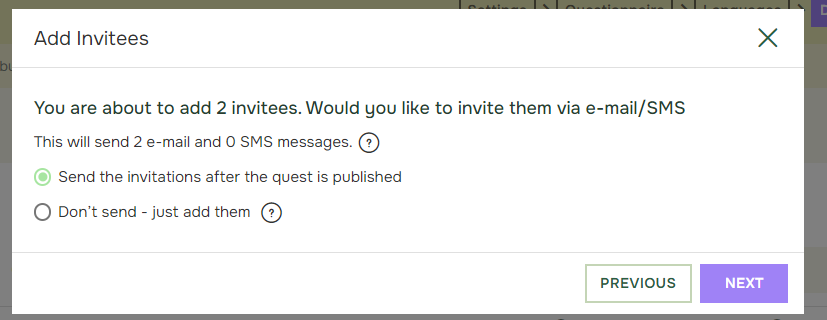
- The final screen in the process of manually adding invitees will prompt you to choose between two options:
Send Invitations Immediately After You Publish the Quest: This option will automatically send the invitations either immediately after publishing the quest or on a specified date set in Test & Publish.
Don’t Send – Just Add Them: Choosing this option will add the invitees to the list, but the invitations will not be automatically sent when you publish the quest. Instead, you’ll need to manually send the invitations from the Invitees list after publishing.
Add invitees from file:
- If you want to import respondents from a file, then choose Import File and Next.
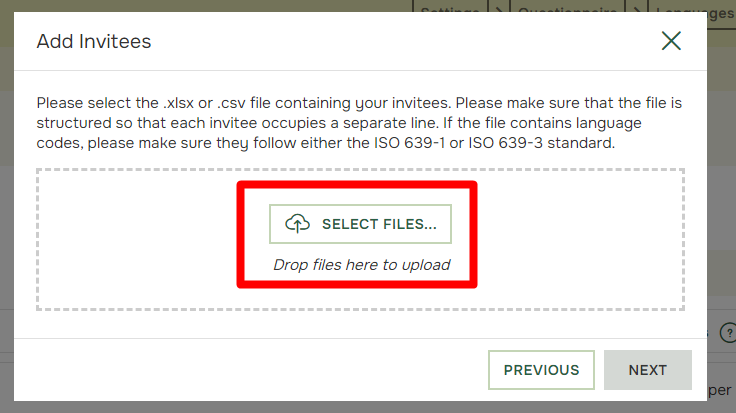
- This will give you the option to Select Files, which will open your own folder. Navigate to the correct folder and choose the file you want to upload. The Next-button is greyed out until you have selected a file.
- After selecting the file and clicking Next, you will have the option to let the system know if your file has headers or not. It is important to have headers if you want to use Background Data/Respondent Data. The window will also show the headers if there are any and the first row of the file to give an example.

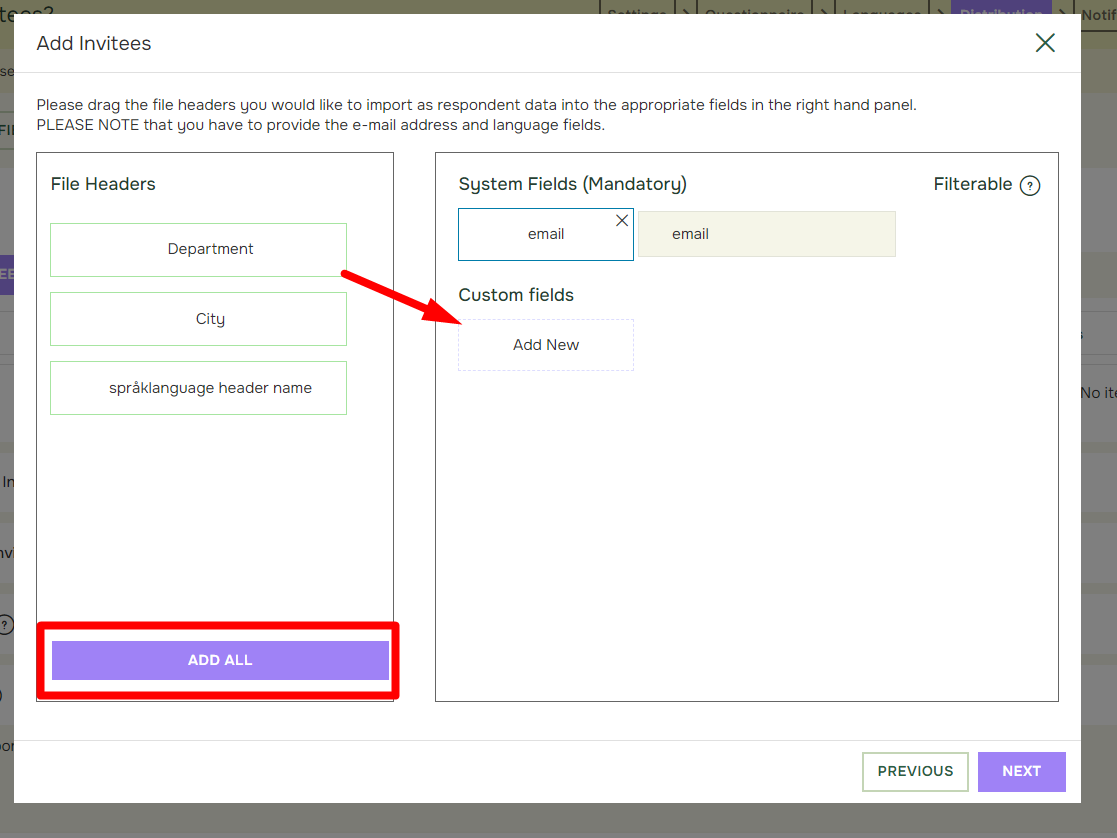
- After clicking Next, you will have multiple choices regarding the respondent data. Everything that is added as Respondent data will be under the Custom Fields header in the box to the right. Any headers that will not be included will be below the File Headers header in the box to the left. To add something from the left box to the right box to include it as respondent data, simply drag and drop the wanted header to the right side. Or click Add all to add all fields.
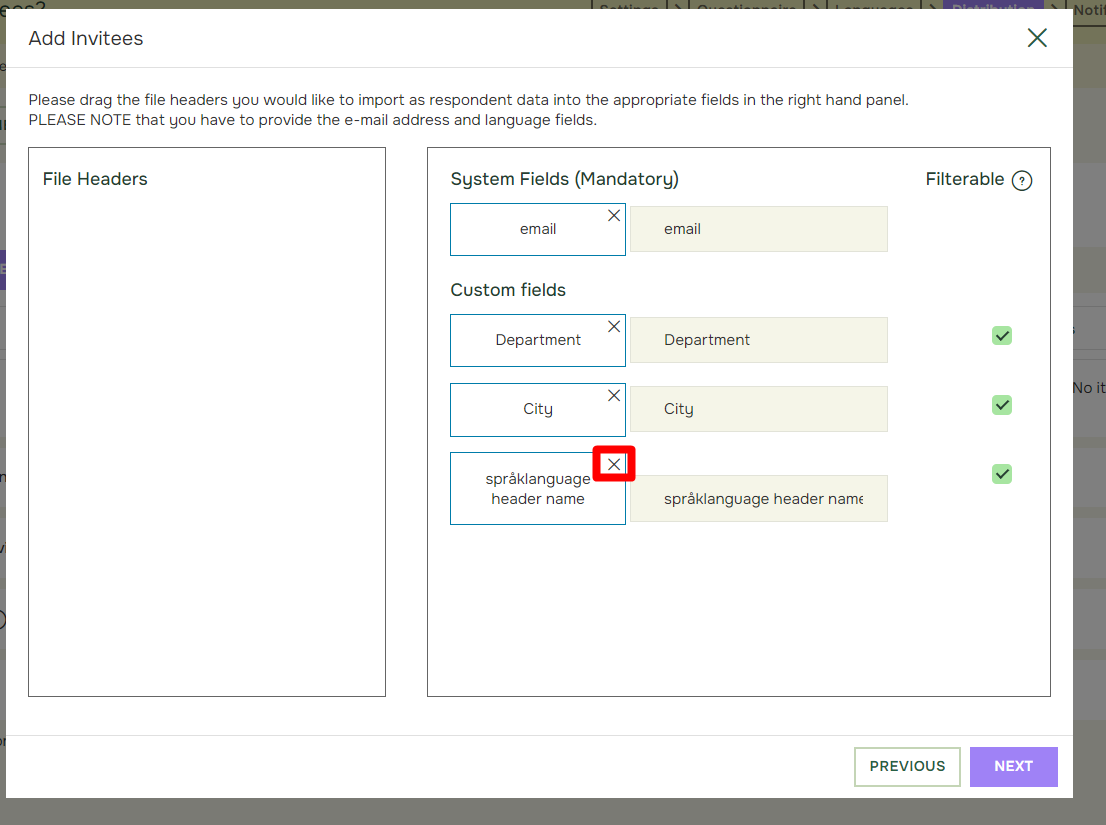
- To remove some of the headers that you don’t want as respondent data, simply click the X.
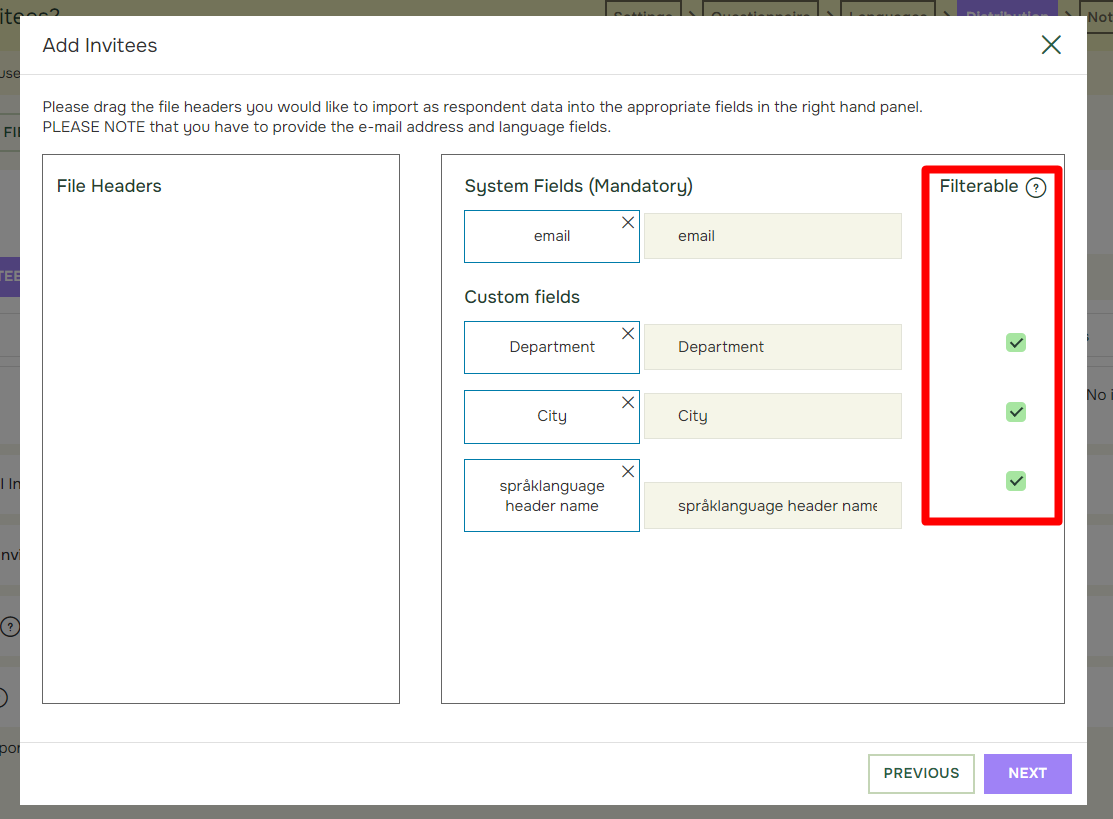
- Then choose which respondent data you want to be Filterable. If you want to make a Value Filter or Routing based on the specific respondent data it needs to be filterable. However unique IDs or names generally don’t need to be filterable. Having a lot of unique IDs be filterable can cause issues when generating a report. Therefore, you should try to only have the data relevant for Value Filters and Routing as filterable.
- When you have finished setting up the respondent data, click the Next button to proceed.
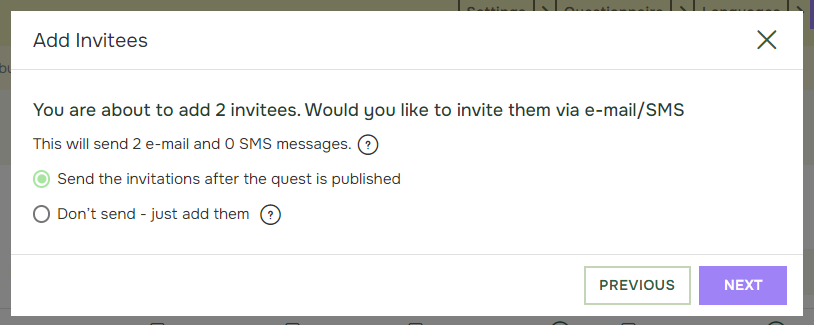
- Then you will get the same page as for Add Manually and it will ask if you want to send the invitations Immediately After You Publish the Quest or Don’t Send – Just Add Them. Choosing Immediately After You Publish the Quest will automatically send the invitations After you publish the quest, either immediately after publishing or on a given date, set in “Test & Publish”. Choosing Don’t Send – Just Add Them will add them in the list, but the invitations are not automatically sent when you publish the quest, instead you will have to manually send the invitations after publishing. This must be done from the Invitees-list.
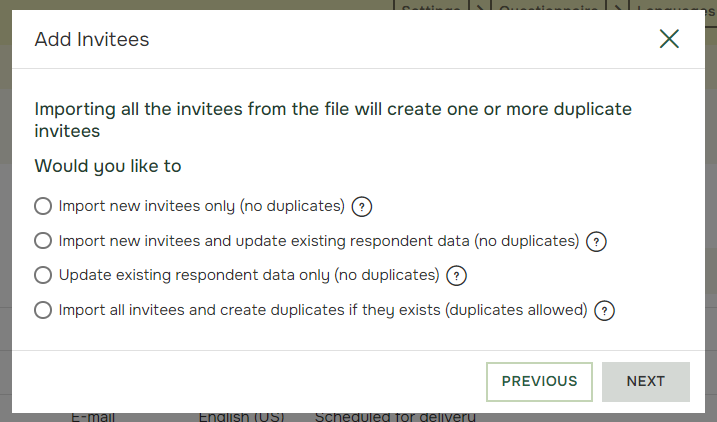
If you already have imported invitees from before, you will get an extra screen asking how to handle new information and the possibility of duplicates.
Import new invitees only: will only look at new invitees in the file, it will not update any existing invitees or create duplicates.
import new invitees and update existing respondent data (no duplicates): Will import new respondent and update the respondent data of any already existing invitees that are also in the file. It will not create duplicates.
Update existing respondent data only: Will not import any new invitees from the file, only updating the respondent data of the already invited invitees.
Import all invitees and create duplicates if they exist: Will import everything in the file. If somebody exist from before as an invitee, a duplicate will be made.
Add invitees from Contact list:
The last option in Add Invitees called From Contacts lets you add a list of invitees saved as a contact. This requires that you have previously saved invitees under the CONTACTS tab.
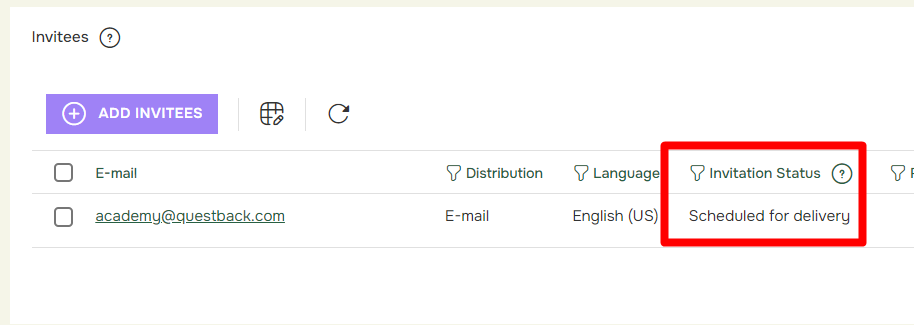
All the invitees will show up in the list, showing 10 at the time. You can check the Invitation Status to see what has been done or what will be done with the invitations. Not Invited means the invitation will not be sent, to send it see below on how to send invitation. Scheduled for Delivery means the invitation will be sent when the quest is Published.
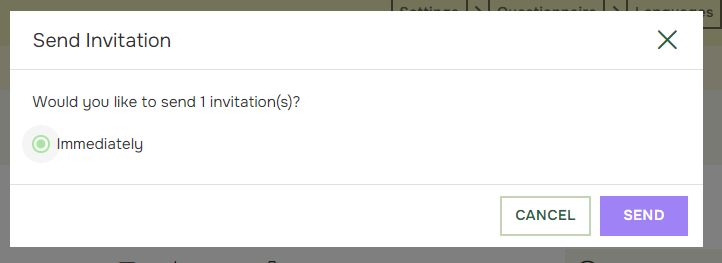
- To manually Send Invitations first mark the e-mail addresses you want to send, then click Send Invitation.
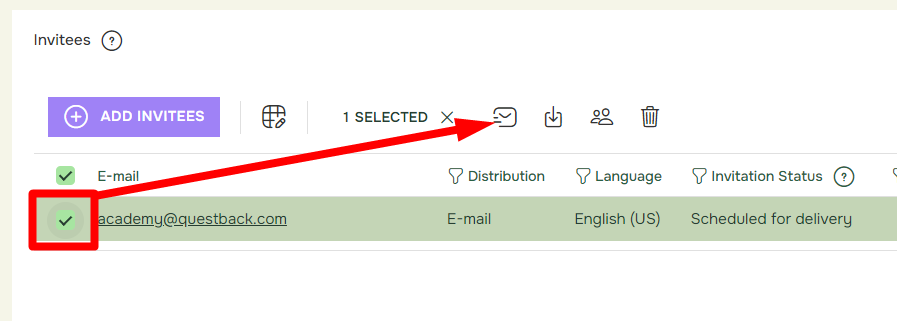
- After clicking send, you will get the option to send Immediately or if the quest is published, On specific Time as well. If the quest is Not Published, choosing to send immediately will just set it as scheduled for delivery, meaning it will be sent when the quest is published and not before.
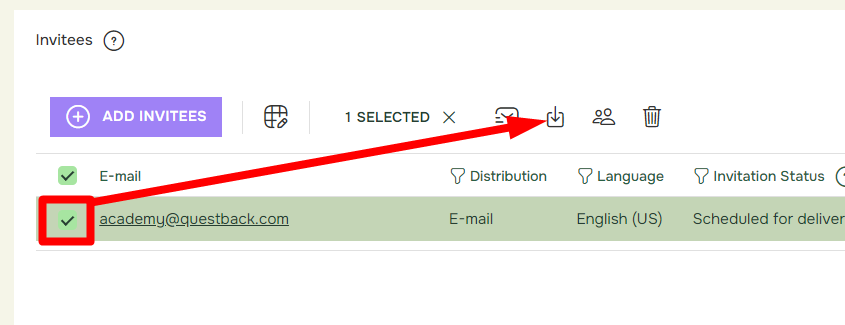
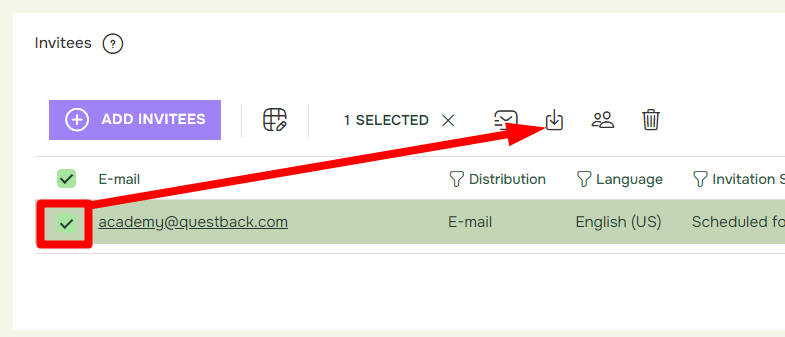
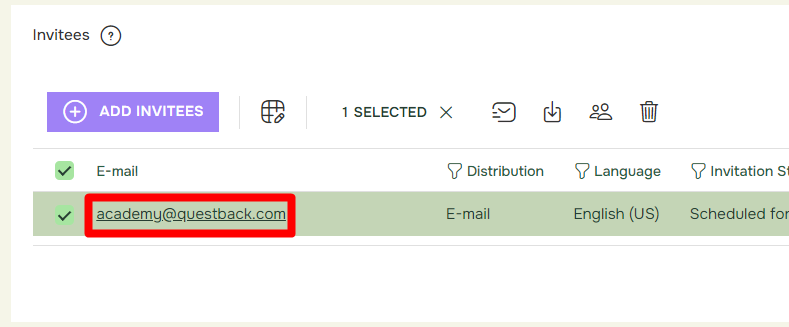
- If you want to export the list of all your invitees, simply mark the invitees you want, then click Export. This will automatically download an Excel file with the marked invitees.
- If you want to save the invitees to be used in other quests, you can mark the invitees you want to save and click Save to Contacts.
- If you want to Delete some of the invitees, mark the invitees and click the Delete button.
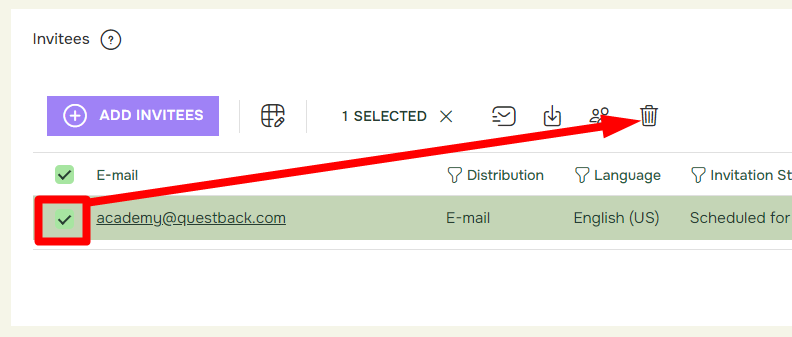
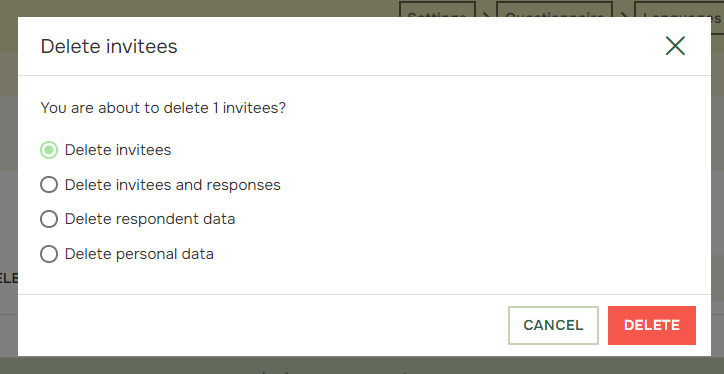
When deleting an invitee, you will get several options for what you want to delete.
Delete Invitees will delete them from the distribution list.
Delete Invitees and Responses will delete them from the distribution list, and will delete all the responses they have made.
Delete Respondent Data will delete all the respondent data associated with that email.
Delete Personal Data will delete the email, and everything marked as personal data.
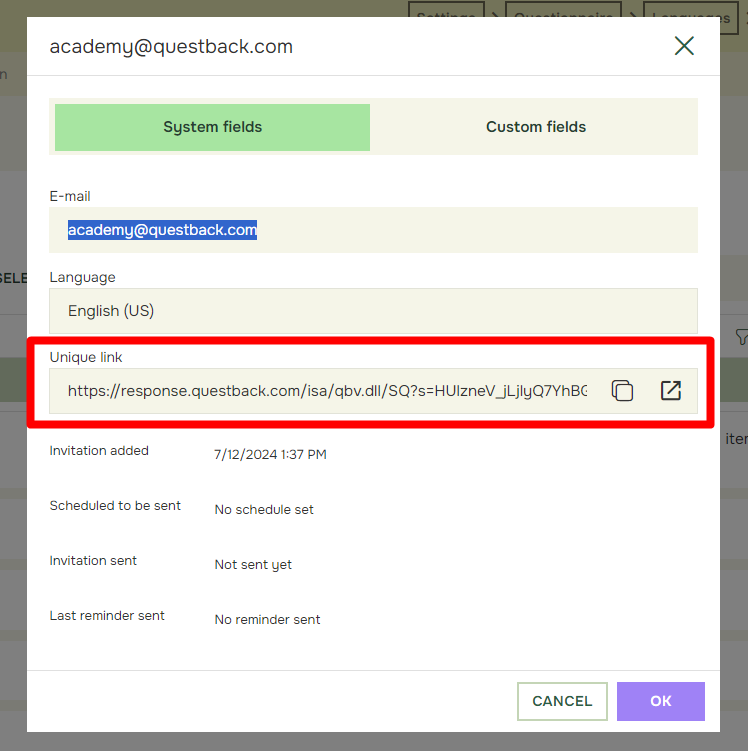
- By clicking the E-mail address of the invitee, you can get a lot of information regarding that invitee.
- Here you can find their Unique Link that you can copy to your clipboard by clicking Copy Link or you can open their link by clicking Follow Link.
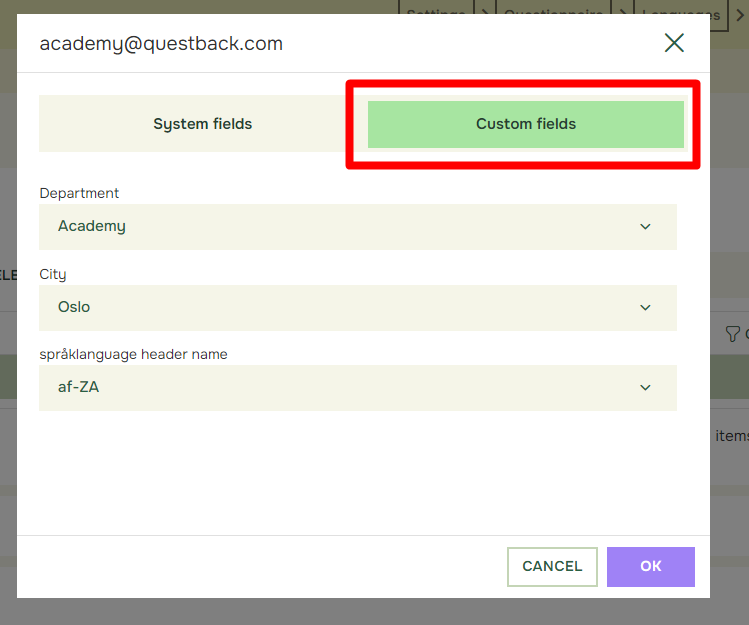
If you have any Respondent Data you can go to Custom Fields to see the respondent data bound to that invitee. You can also manually change the respondent data of the invitee in this screen.
It Is possible to Search for respondents in the search field in the top right corner.